Tips & Tricks – How to Take Better Photos
 How to Take Better Photos
Memorial Day Weekend is coming up here in the good ol’ U.S. of A. It’s a three day weekend for many of us, which offers time for travel, beach trips, winery binges, and backyard barbecues with friends and family. All of your holiday weekend activities are opportunities to make use of that cell phone camera to capture memories you will post to social media or keep near & dear as special for years to come. If you’re going to be using your camera to capture memories all weekend, why not make your photos that much more attractive & artistic? Today I’m going to help you learn how to take better photos with three easy tips.
On day one of my very first photography class back in tenth grade (1997 – whew!), I remember my teacher, the infamous Ms. Smith, telling us that taking her class was a way to ensure our memories for the rest of our lives were captured in a way that was more pleasing to the eye than the average candid photo. That is something that stuck with me and influences me to this very day. It’s the basis for my motto, if something is worth capturing, it’s worth capturing beautifully. Thinking of photography this way has helped me create beautiful visual memories from the age of 15 until now, so I have 18 years of lovely, interesting images. Whether I was on vacation, celebrating Mother’s Day, on a trip to a winery with a friend, or snapping photos of my dinner, they’re virtually all visually pleasing.
But I’m here to tell you, you don’t have to be a professional photographer, take photography classes, or study photography endlessly to make a visually pleasing photograph. The number one way to take better photos is to be conscious of your composition. Wikipedia supplies us with this definition of composition:
The placement or arrangement of visual elements… in a work of art, as distinct from the subject.
As applied to photography, there is a way to arrange the elements or objects within your photo that is pleasing to the eye or enjoyable to look at. You can do so by adjusting yourself – where you’re located in relation to what you’re photographing, or you can physically arrange items within the photo if you are working with things you can manipulate or control.
Let’s use the example of Memorial Day Weekend and explore three elements of composition you can implement to take better photos.
P.S. All of the photos shared today are ones I took on vacation. No one was paying me to take these pictures, but I wanted to capture them in a way that would make me interested to look at them for years to come.
1. Rule of Thirds
Let’s start with my favorite: the rule of thirds. If you follow this rule & don’t do anything else, your photos will still improve exponentially.
The rule of thirds asks you to mentally divide your frame (what you see on your camera/smartphone display or through your viewfinder) into thirds – vertically, horizontally, and both.
(Not my graphic; I got it from blog.visme.co)

Generally speaking, your horizon line shouldn’t be directly in the center of your frame, it should either be in the top or bottom third (of the horizontal thirds) of your frame. And your subject should not be in the center of your frame either. It should be in the left or right vertical third. These rules make your photo more visually interesting.
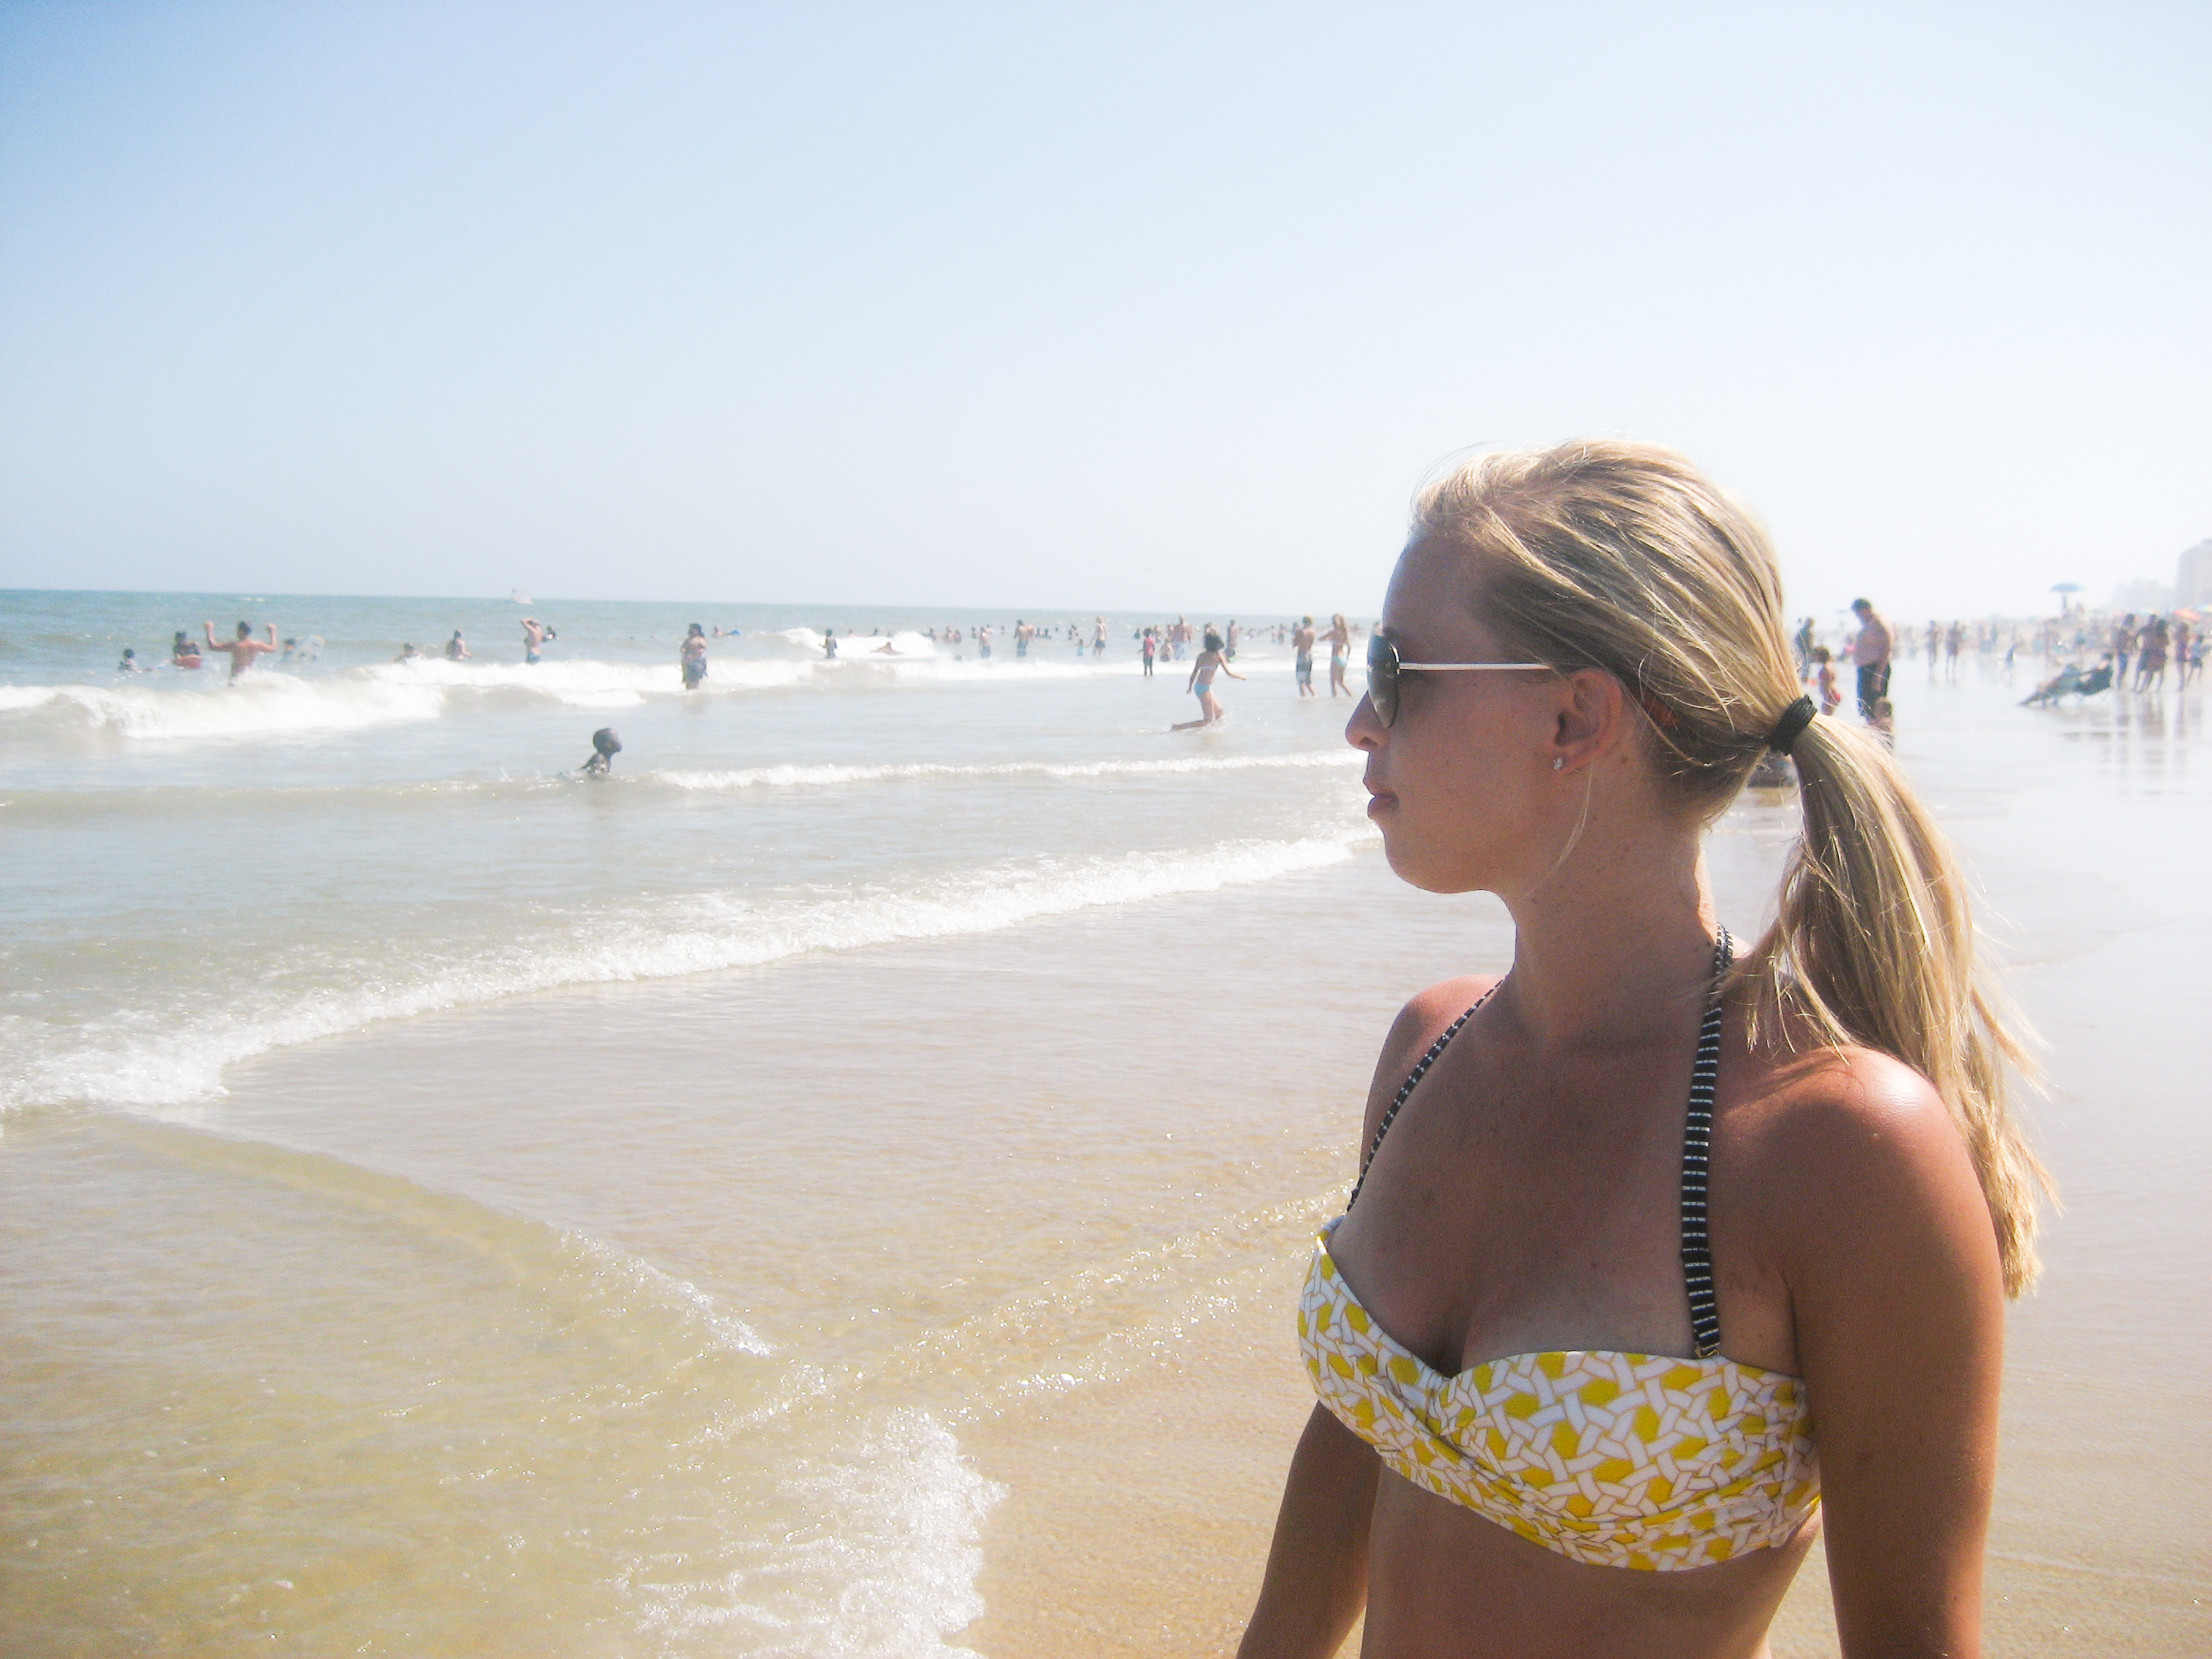
So let’s say you’re taking a photo of your friend on the beach.
DON’T place your friend in the center of your frame (the vertical middle third) with the horizon line in the center (horizontal middle third).
DO place your friend to the right of left side of the frame, and arrange the horizon to be in the top or bottom third.
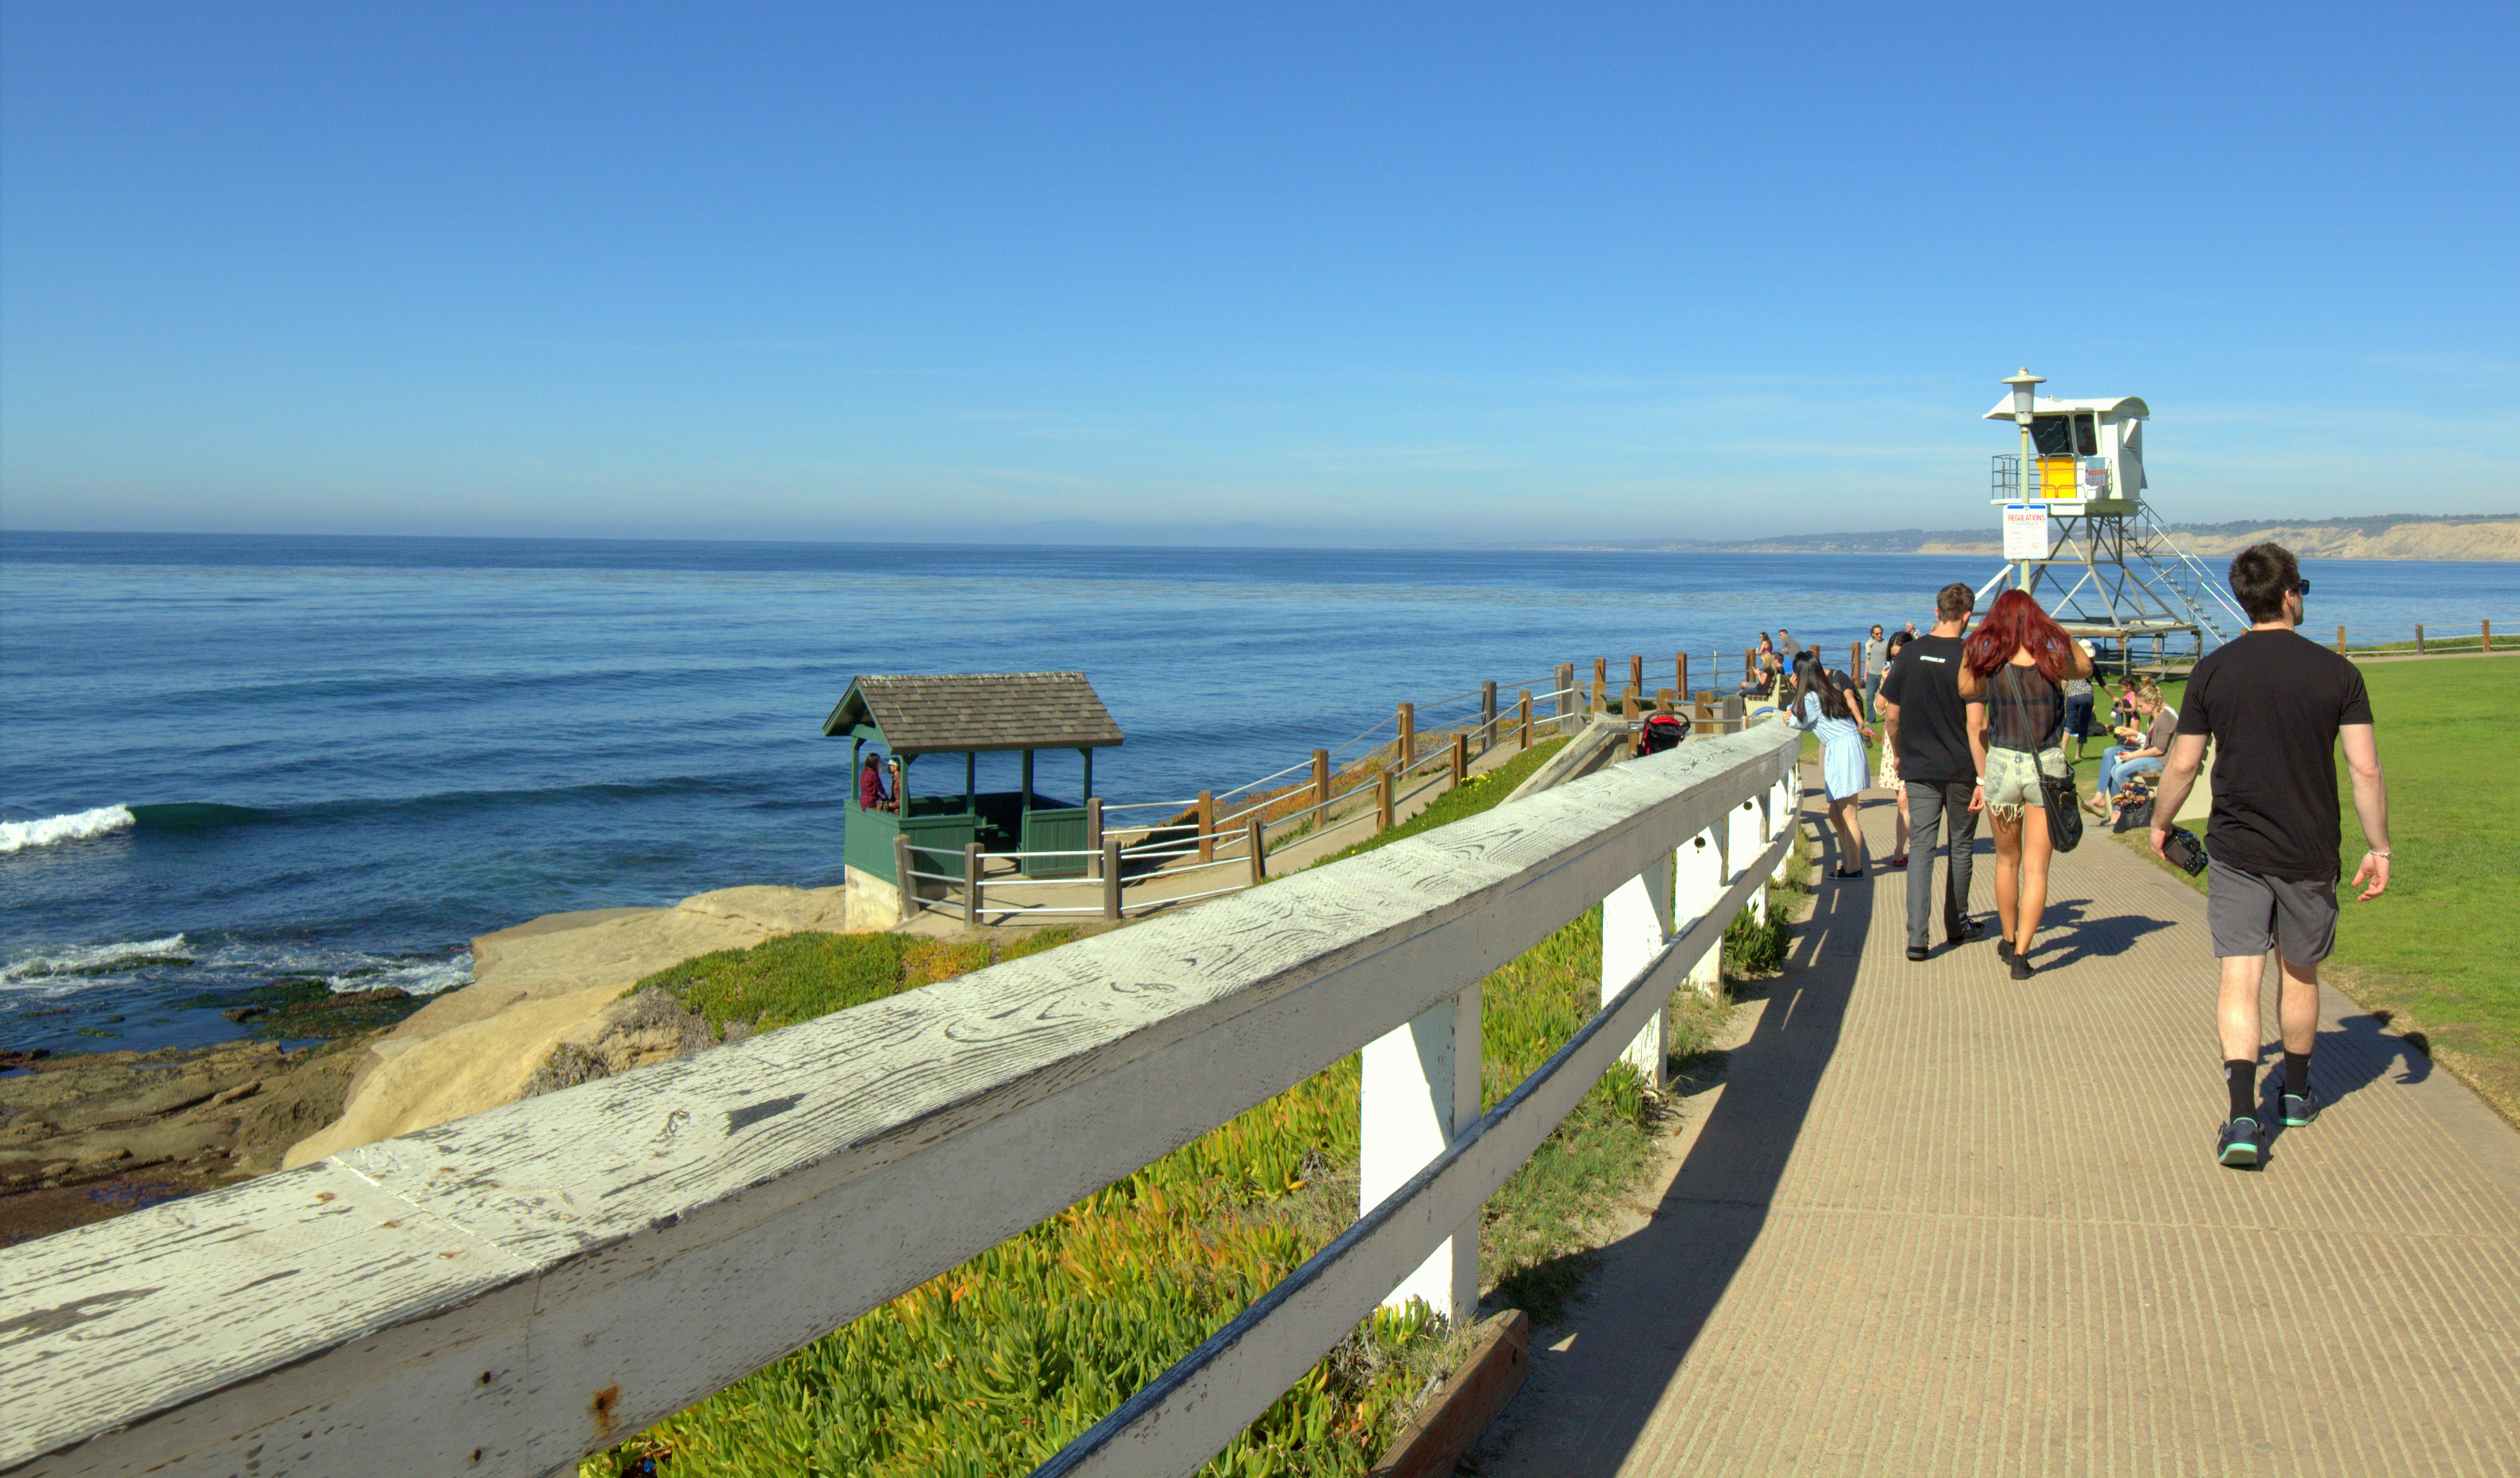
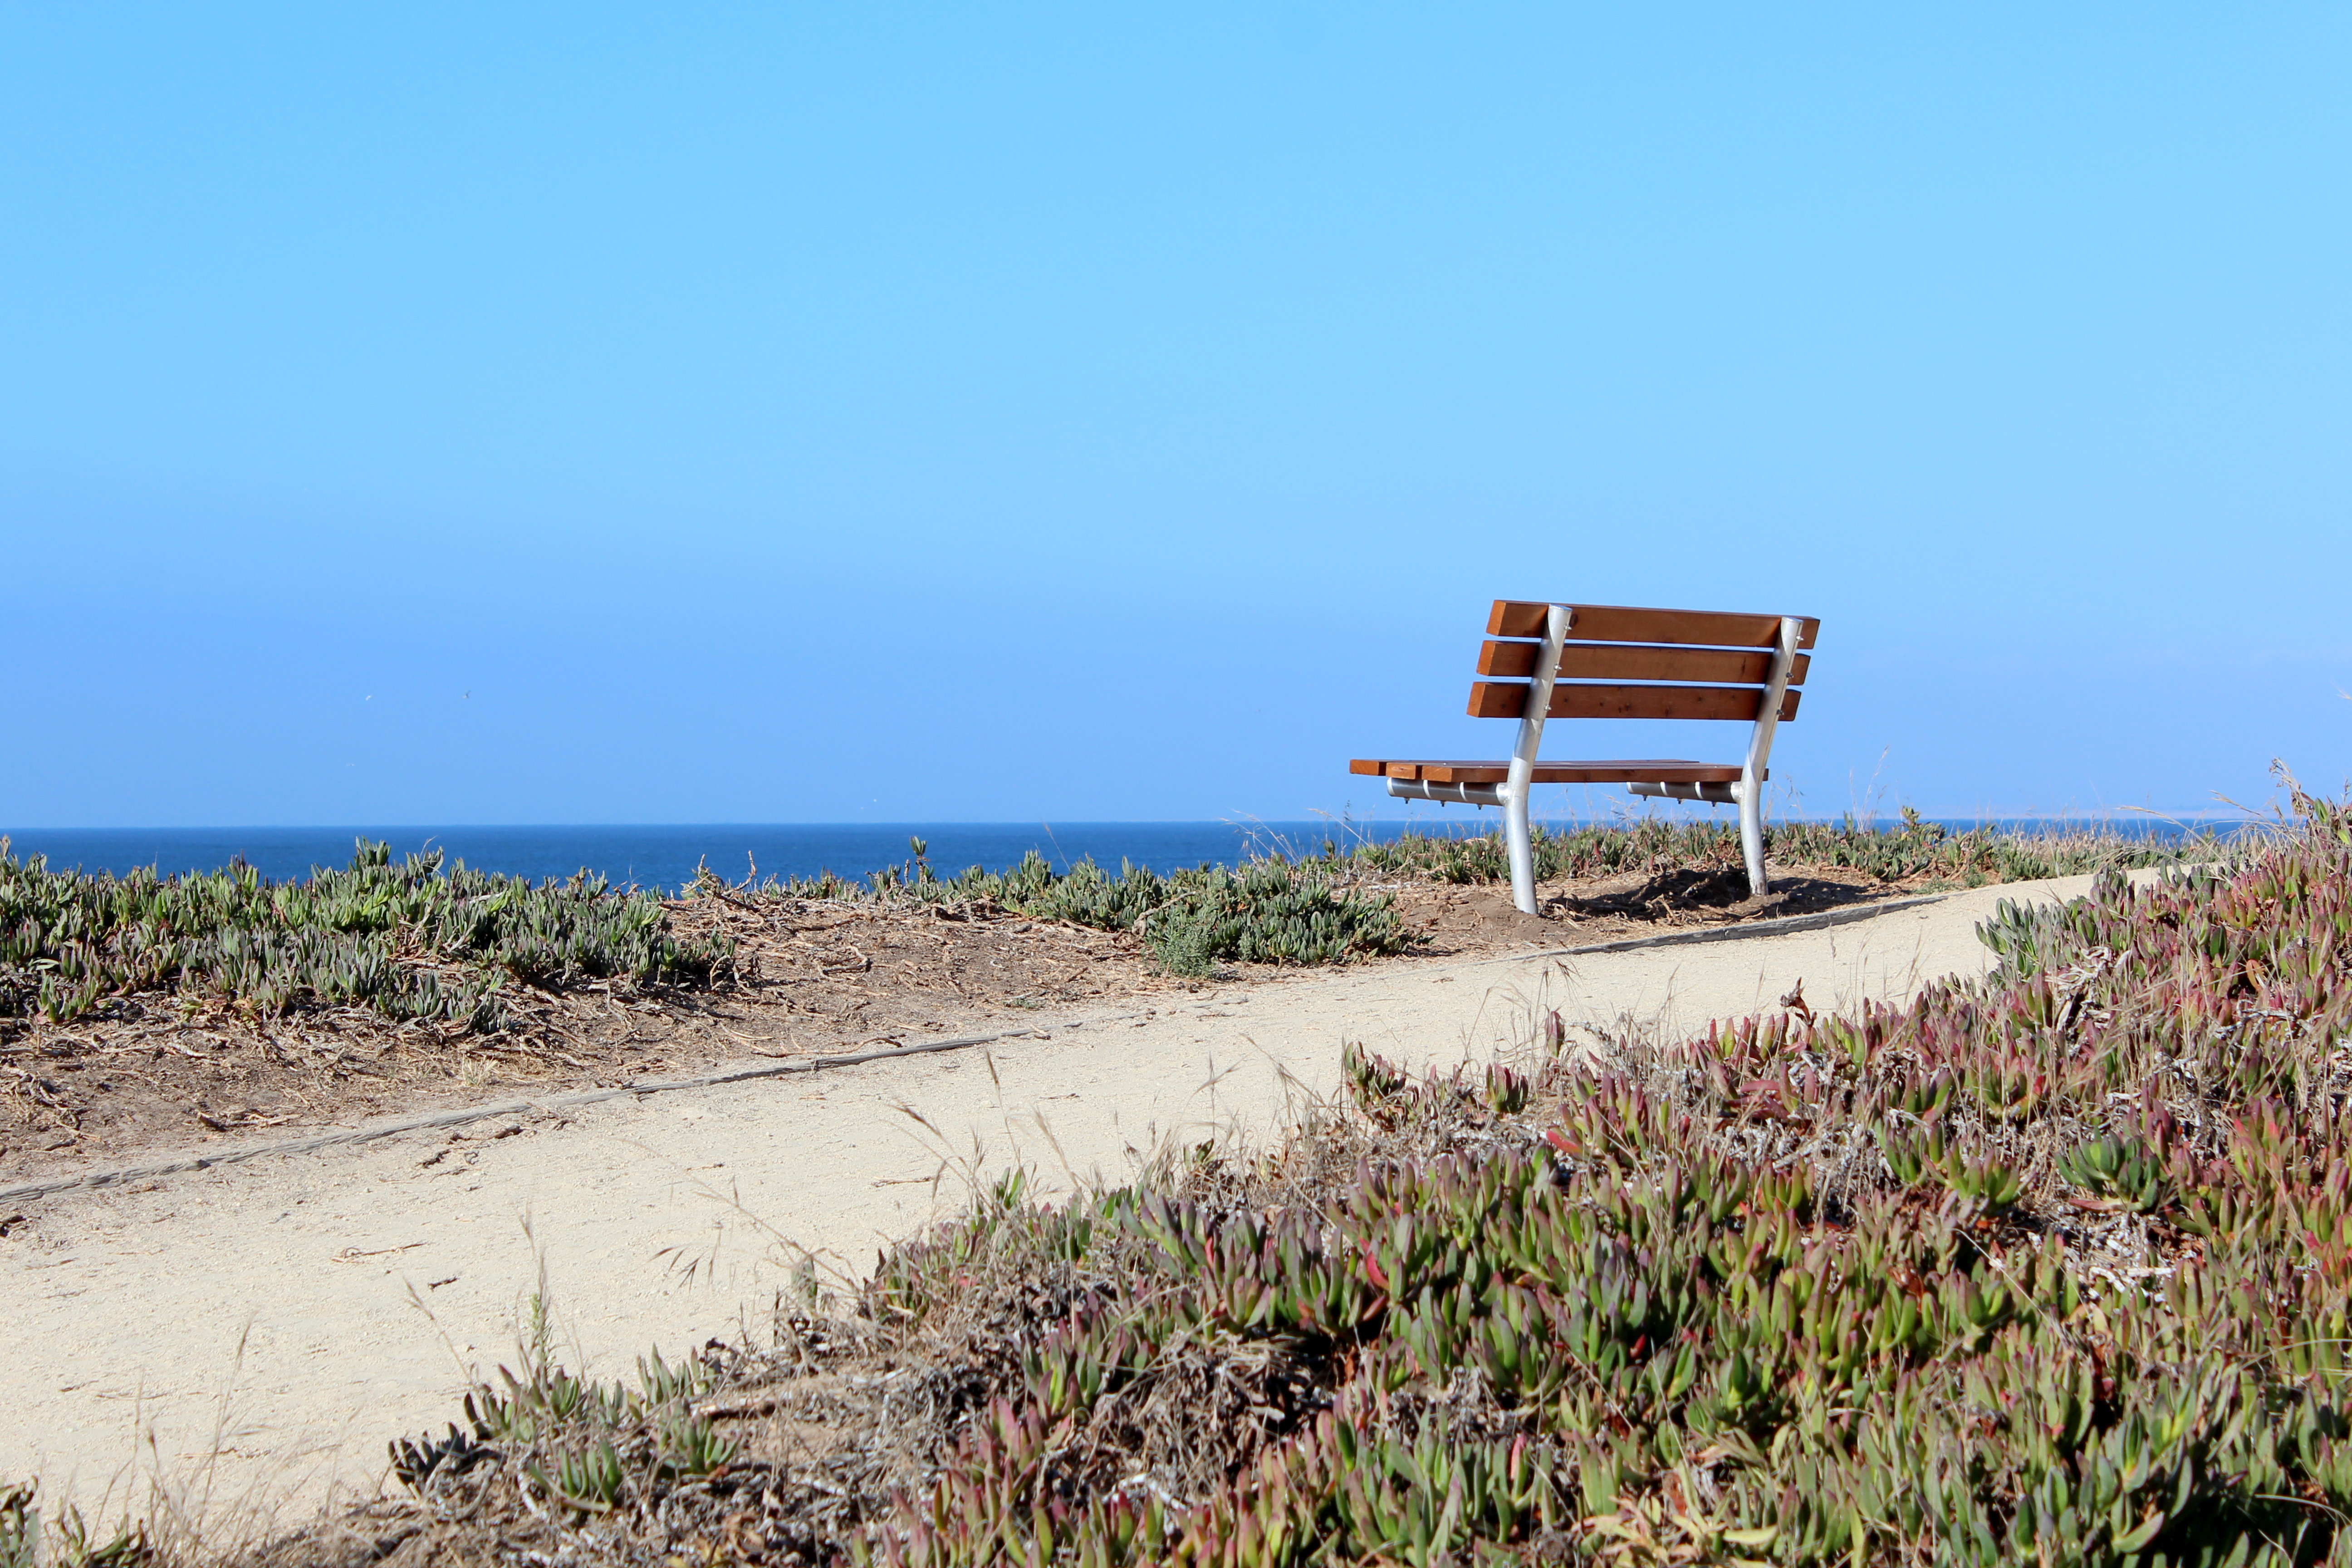
2. Leading Lines
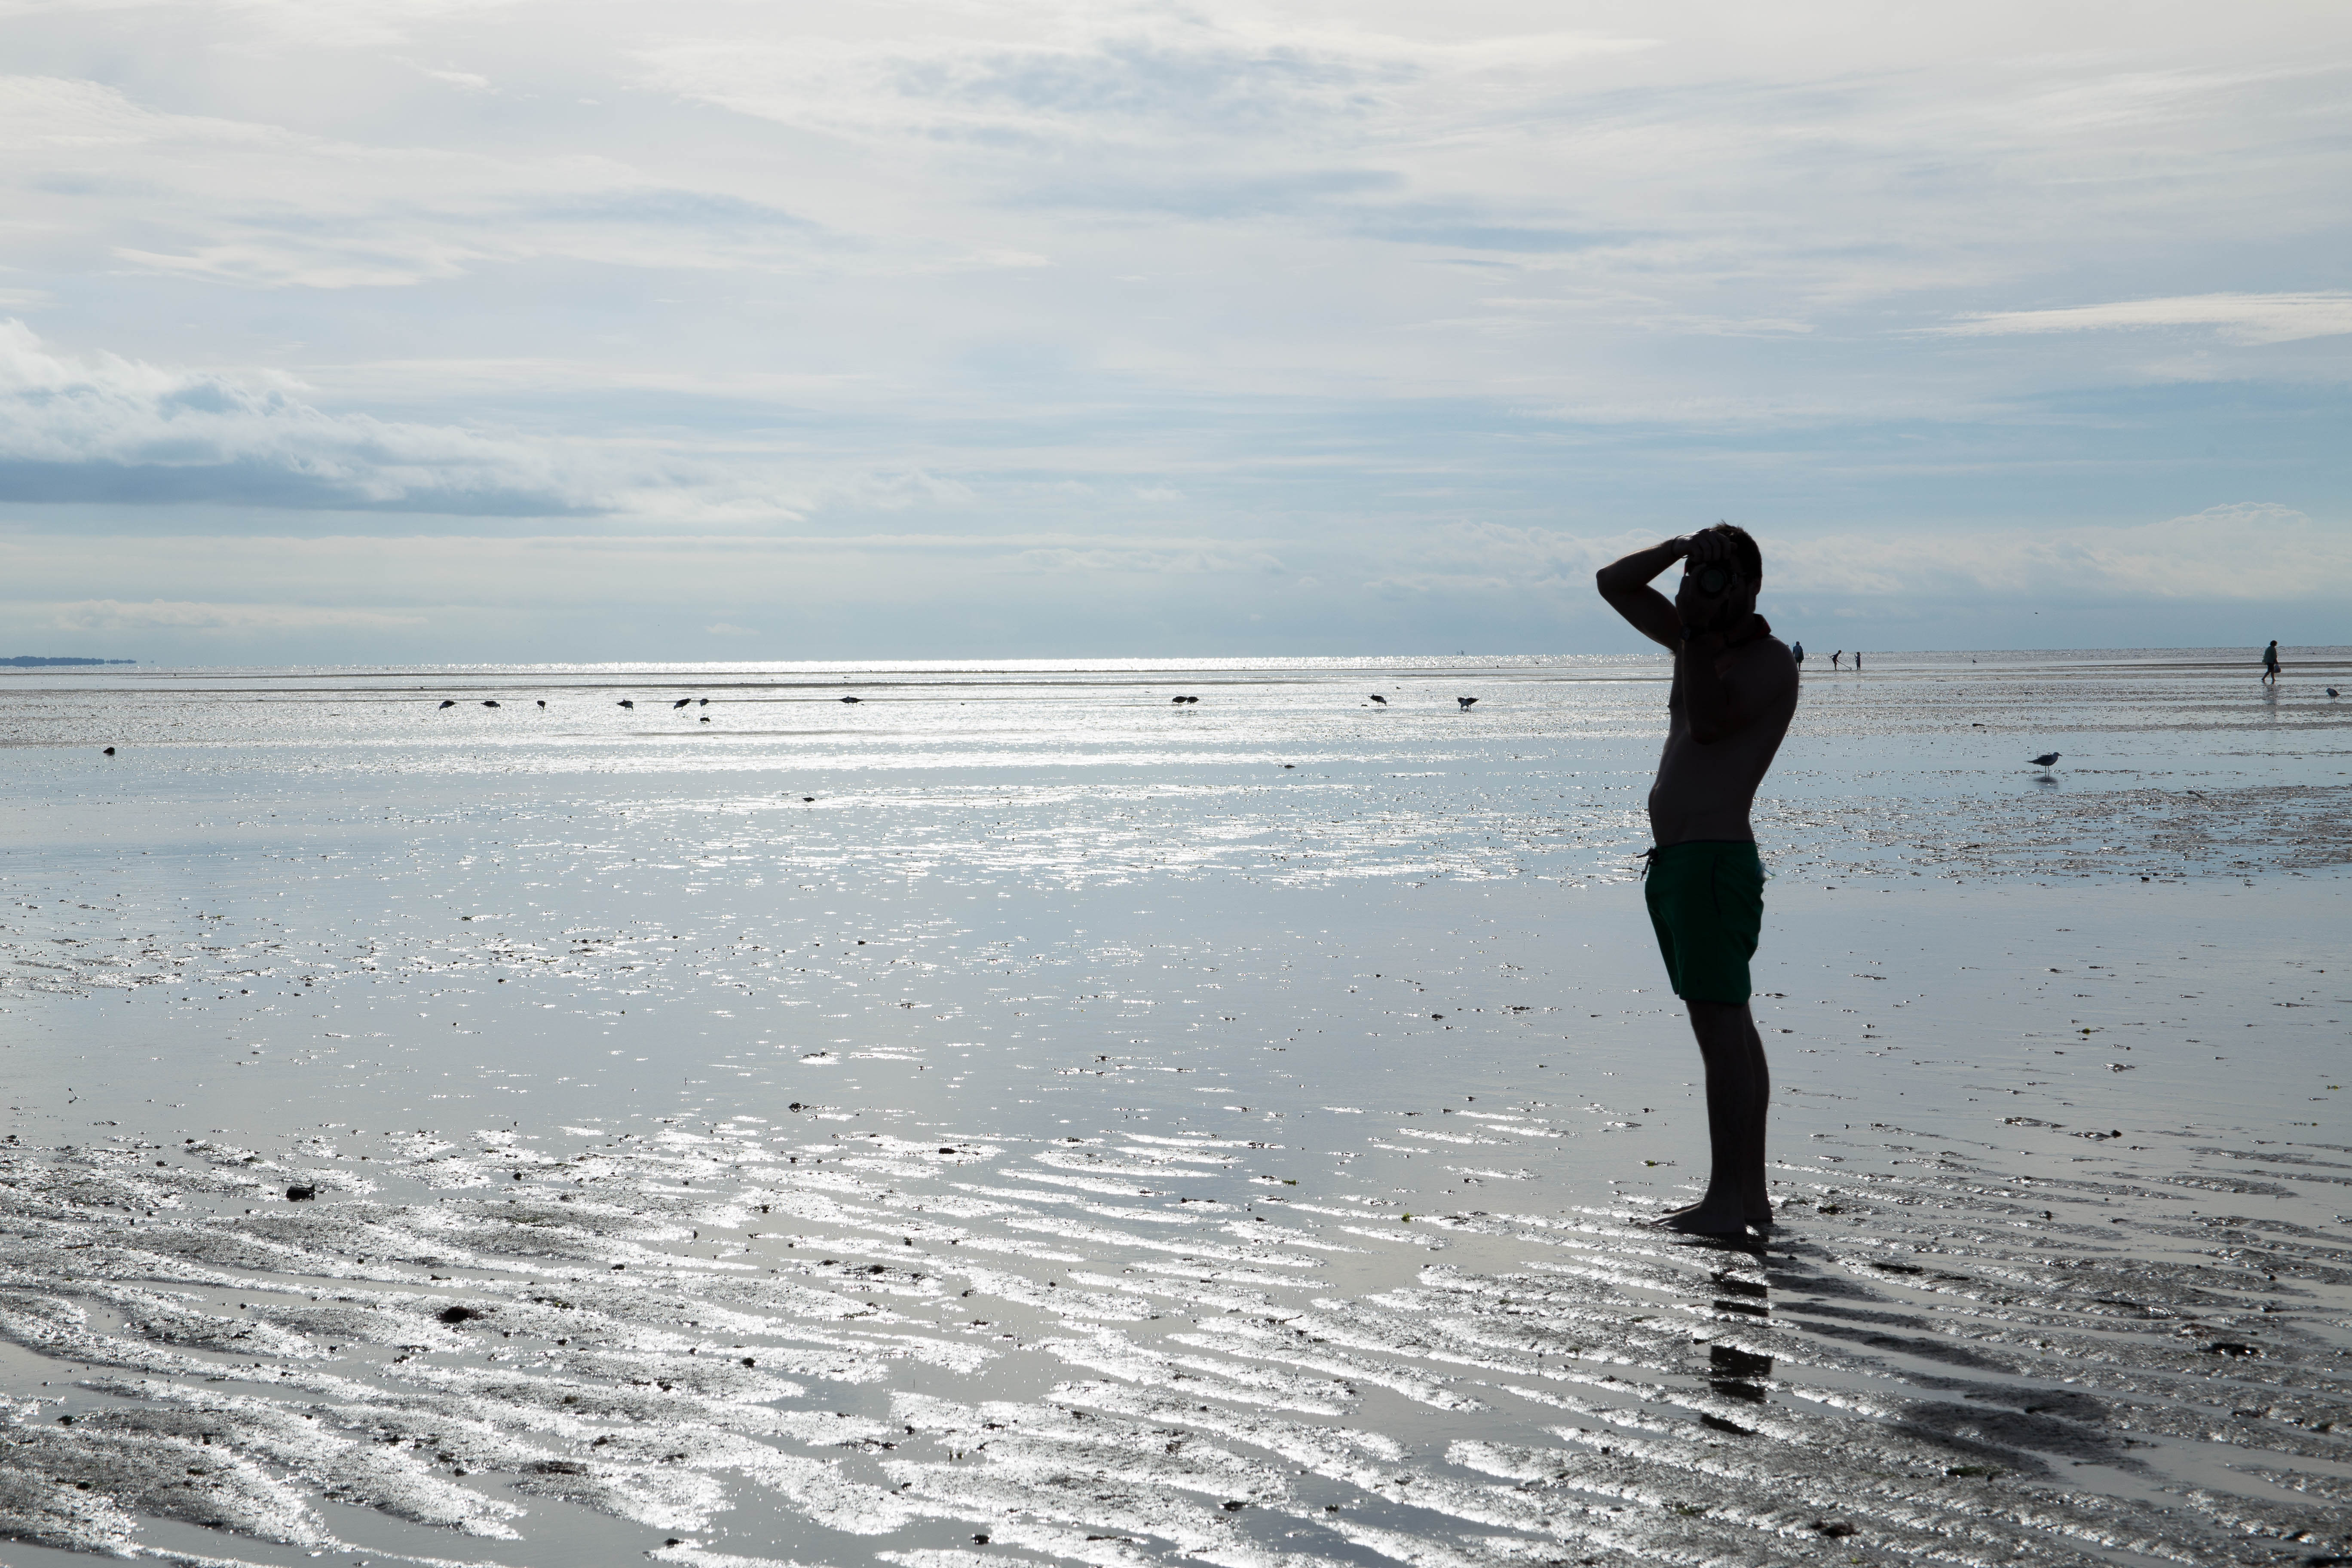
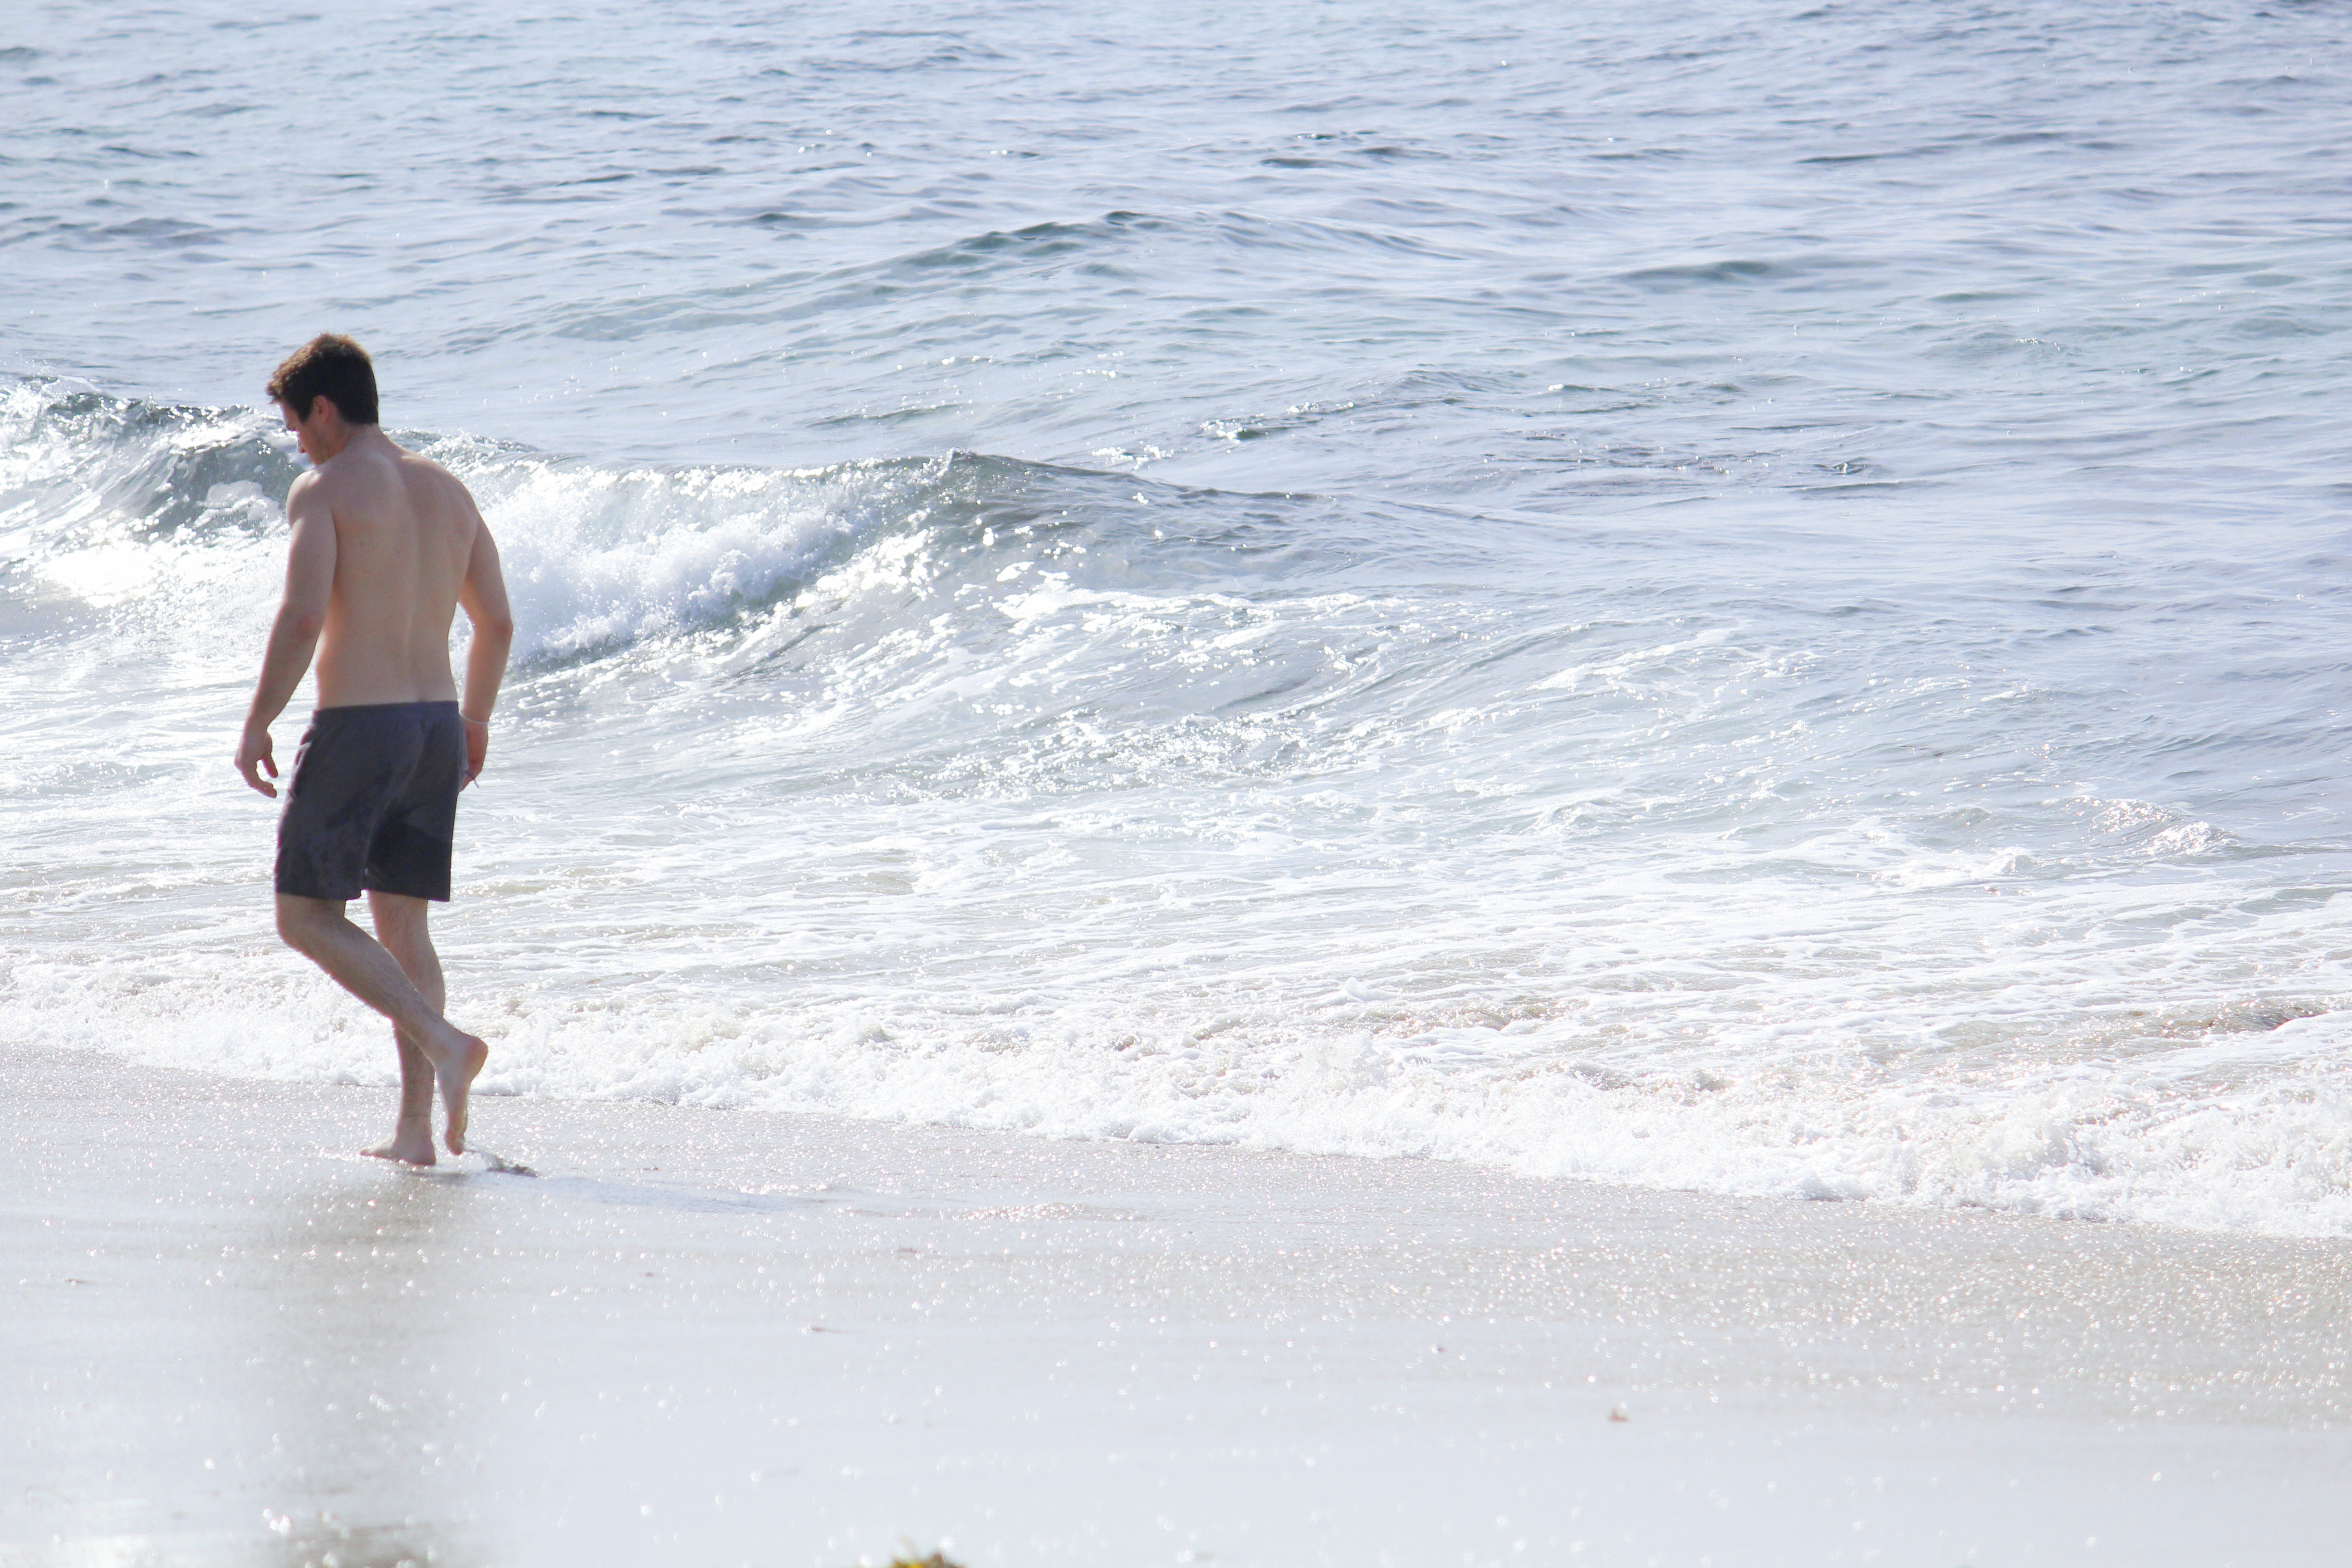

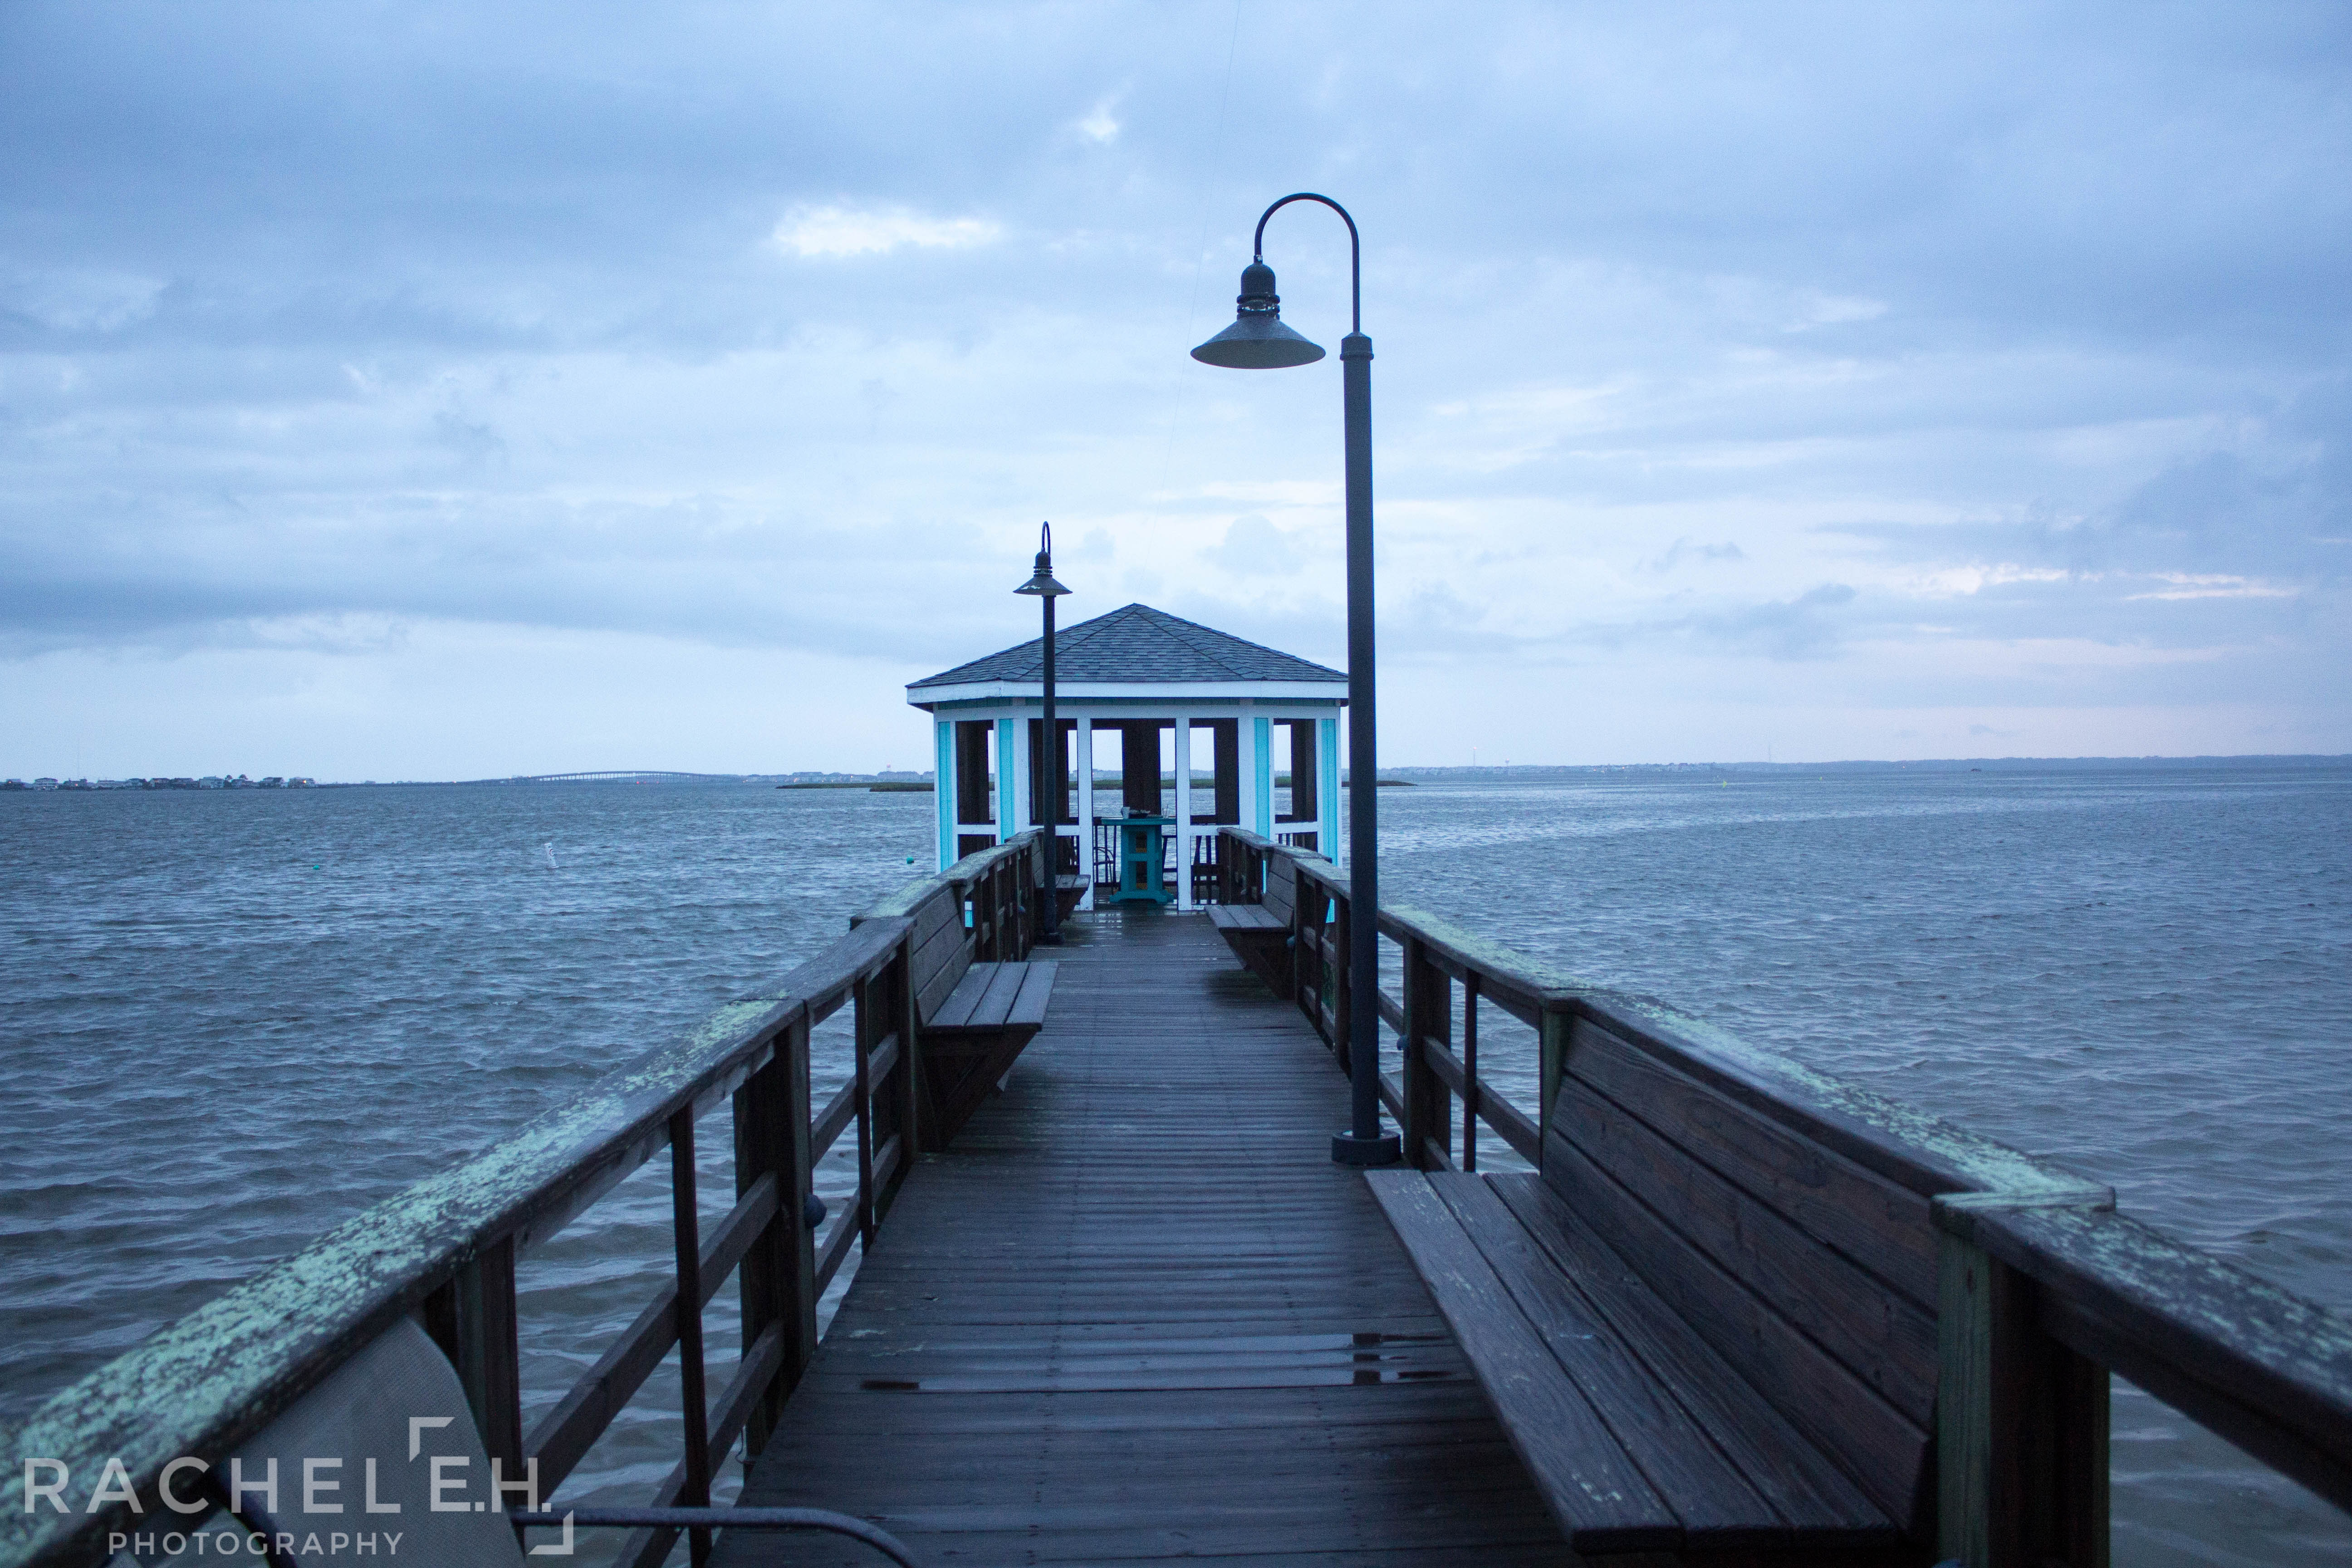
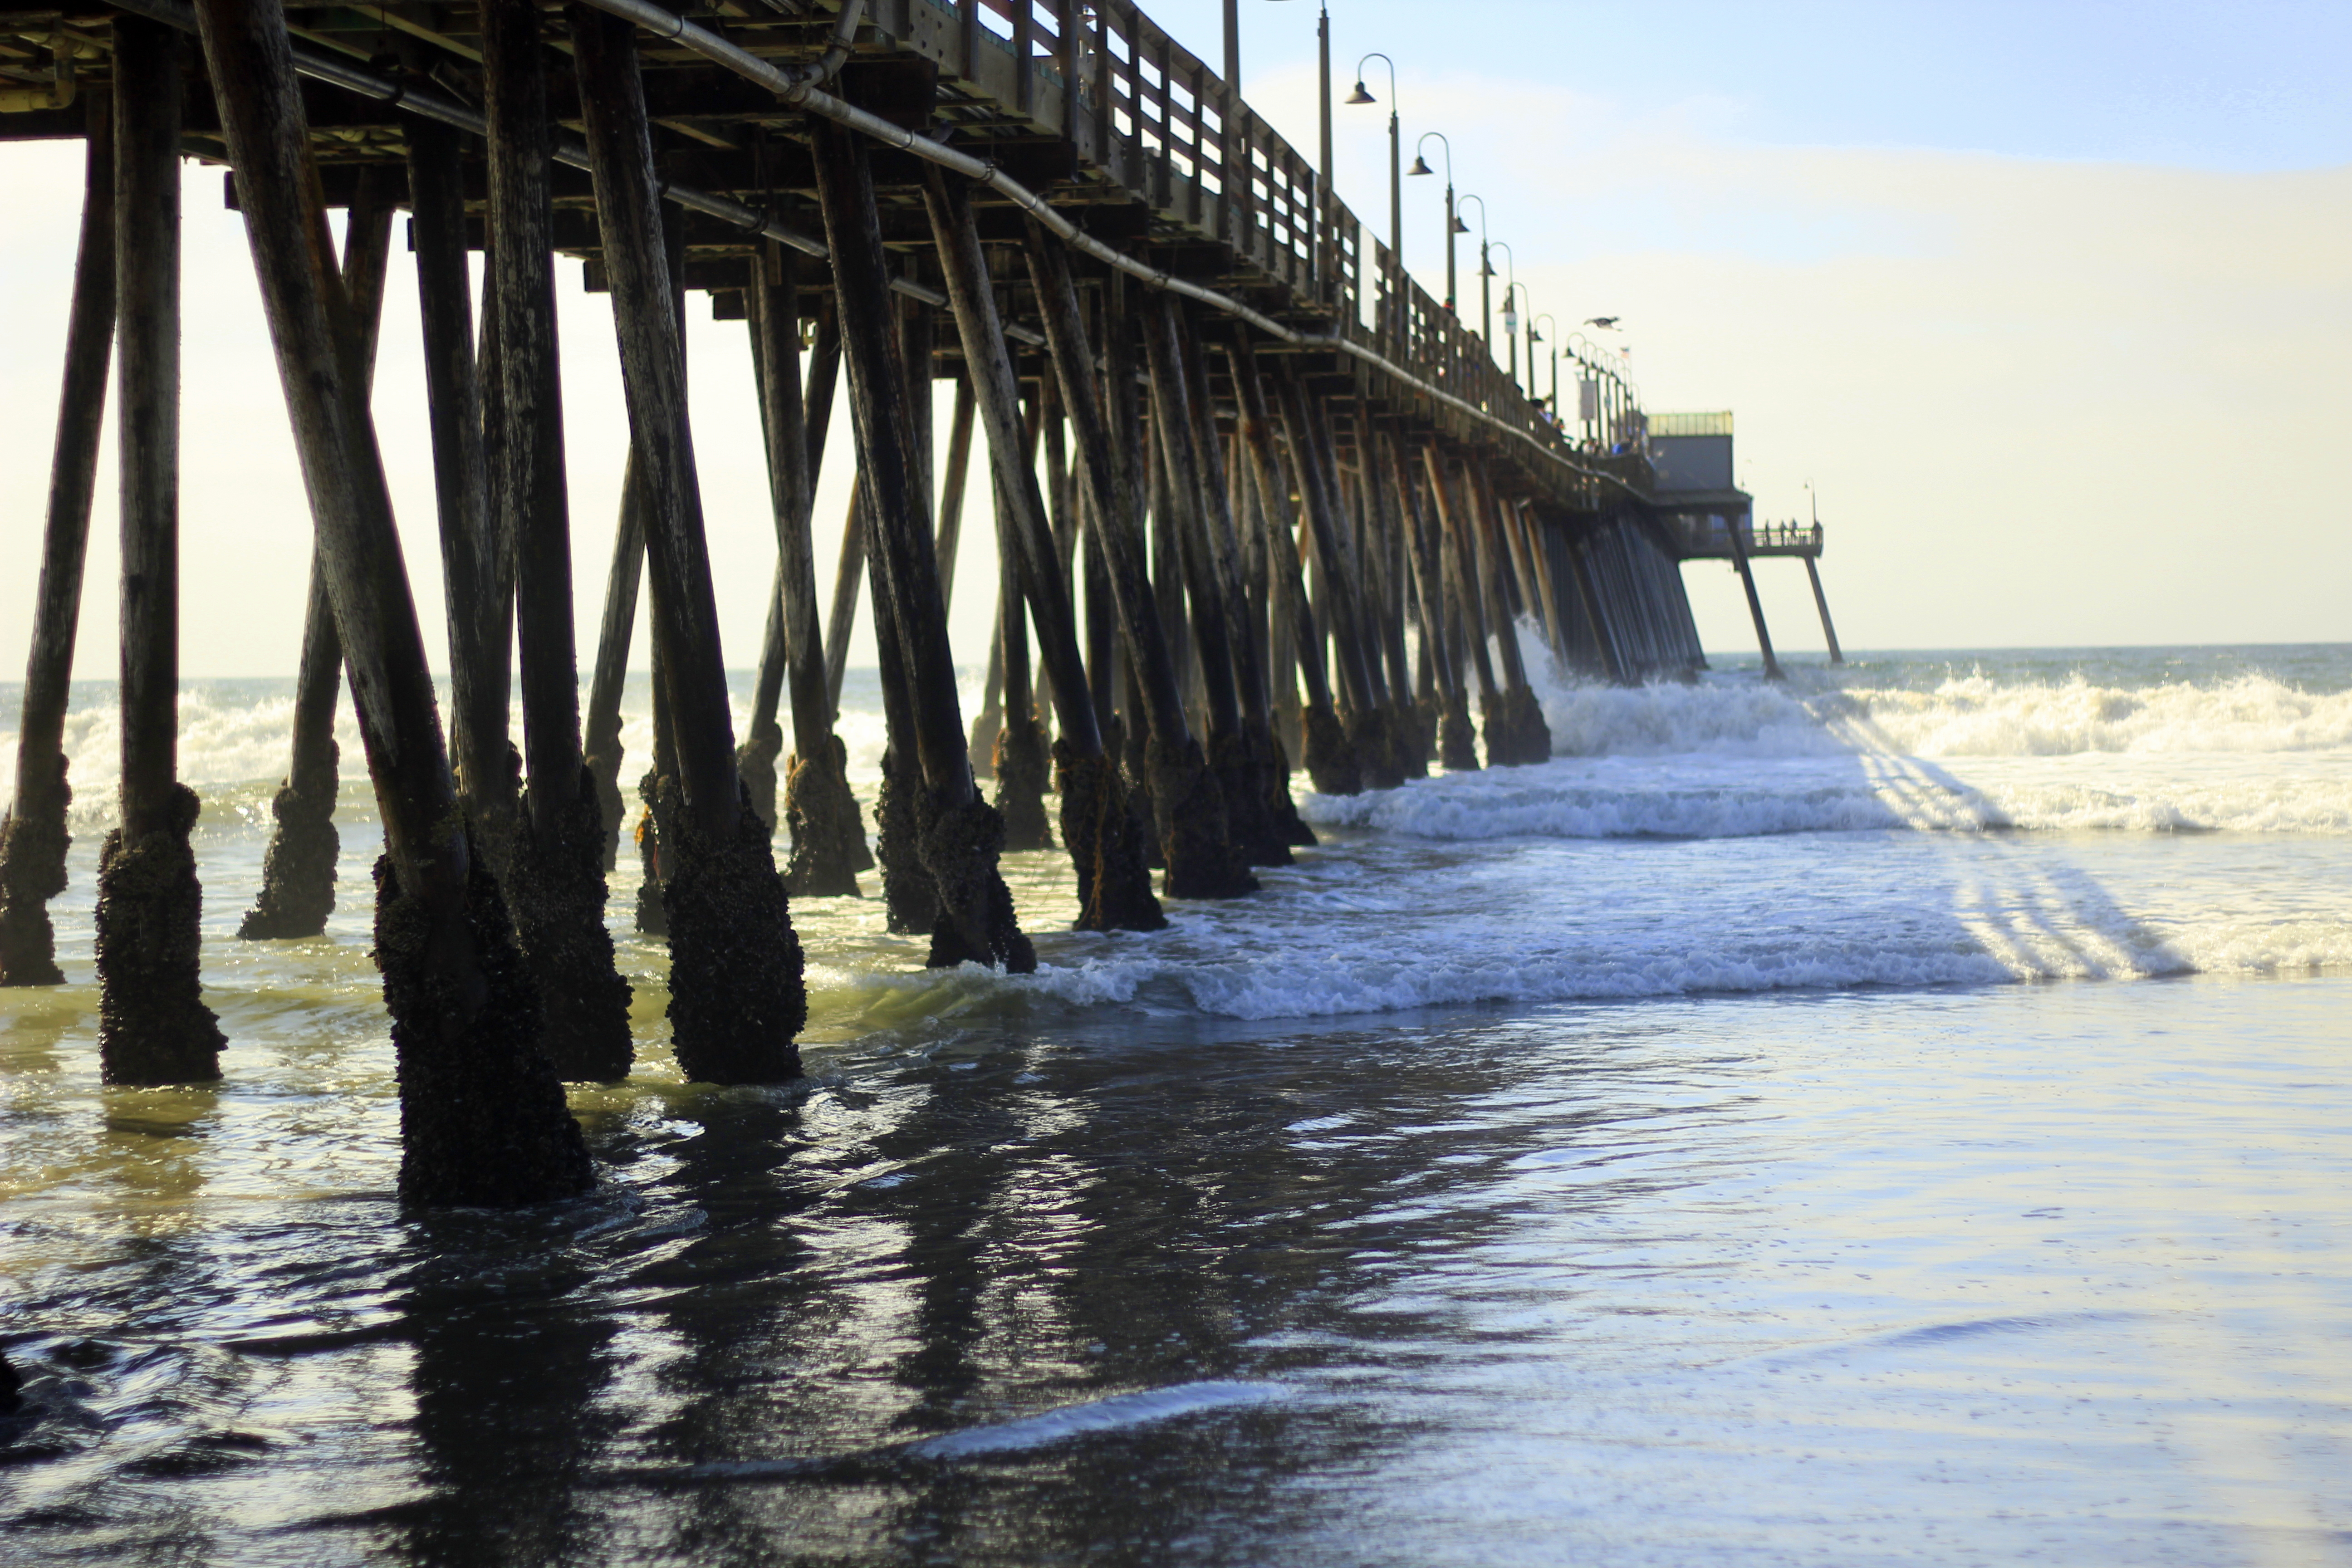
Rule of thirds is my technical favorite, so to speak, but creating leading lines is my artistic favorite.
Leading lines direct the eye towards something in the photograph. It’s a way to direct the viewer to the subject or statement within your photo. Find anything within your field of vision that is a line (the horizon, a fence, a street, a bridge, a railing, a sidewalk, etc), and then line it up so that it/they are going towards your subject or towards what you want to draw attention to in the frame. And note: it doesn’t have to be a straight line; there can be a curve to it. This makes your photo that much more visually interesting b/c it usually means you’re not just taking a photo head on. You’re usually at some type of angle, which to me, naturally makes a photo more visually appealing.
Here are some examples:


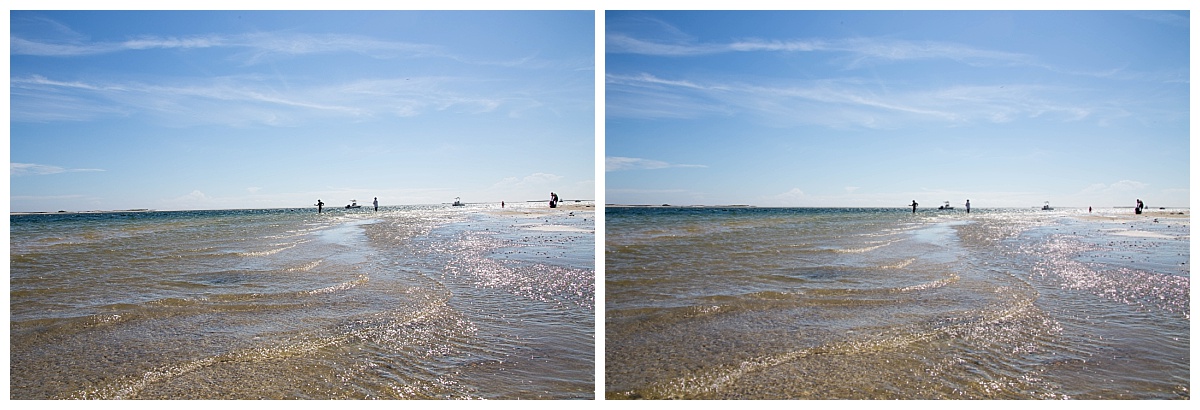
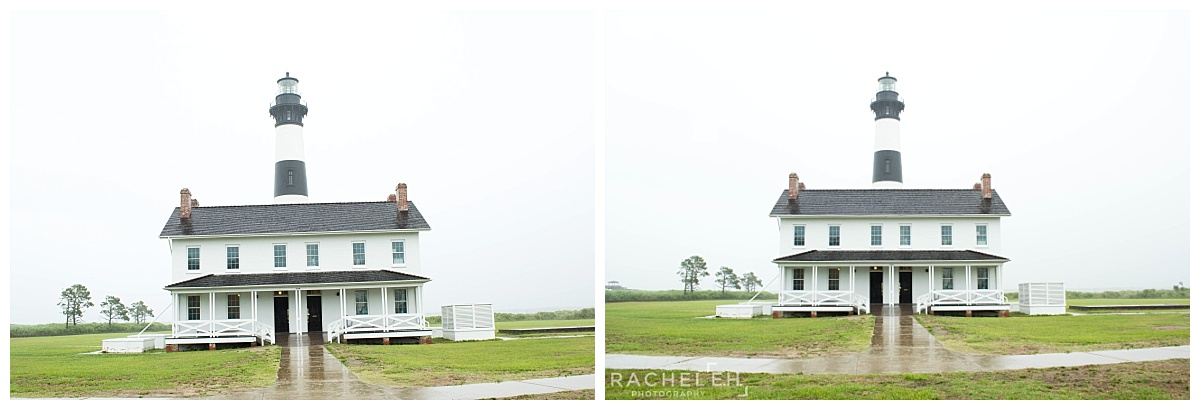
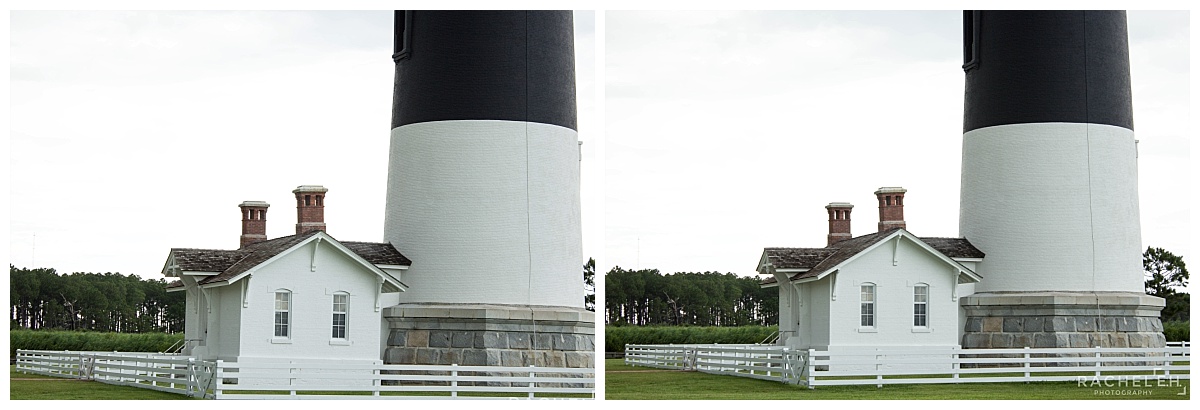
3. Straighten
This is a major pet peeve of mine, so I’m including this as my own version of a public service announcement. Make sure your photos are straight. You can be conscious of this when snapping the photo, but nowadays even Instagram & your cell phone editor offer a way to straighten your photos taken on your cell after the fact, so use that feature PLEASE! (In Instagram it’s found under Tools > Adjust.)
The easiest way to get a straight photo is to pay attention to the horizon line when taking your pictures – make sure it’s straight/level. Same thing with any other lines you see in the photo, whether it’s the shape of a building, a fence, where the ground meets the street or a building. To me, this makes all the difference between someone who cares about what they’re posting & someone who appears to have willy nilly captured a photo while stumbling along a cobblestone street during an earthquake while drunk & then posted it online. If you don’t want people to think you’re a drunk mess or caught in an earthquake, straighten your photos
Here are some examples of photos I’ve taken that weren’t straight next to the versions where I manually straightened them. Which is nicer to look at?