


Tips & Tricks – How to Get a Blurred Background
The coveted bokeh. It seems that many Professional, amateur, and Instagram photographers have one overarching goal when taking photos these days, and that is to get as much of a blurred background behind their subjects as possible. I know I love it when I’m able to create that perfect creamy glow in my photographs, so I can’t hate on the trend that’s emerged. In fact, today I’m going to share with you how to quickly & easily achieve a blurred background, a.k.a. bokeh, in your photos.
My friend Michelle over at Little Blonde Cakes recently purchased a DSLR (digital SLR (single lens reflex)) camera to take photos of her baked goods to share on her website. We set up a play date so I could teach her how to use the camera so she can get the best photos of her delicious products. Michelle let me know that the main thing she wanted to learn how to do was get a blurred background so that her cakes & cupcakes would really stand out in the images. We met up this past weekend in New Market, MD, & I taught her how to do this, so I figured I’d share that with my blog readers as well!
I’m not going to bore you with photography technicalities! I’m going to explain how to achieve that blurred background in the best layman’s terms I can.
I’ll start by explaining the How To & then give you step-by-step instructions.
The first thing to note is that I shoot on a Canon, so these directions will use Canon jargon but should translate for other camera brands as well.
To start off, let’s recognize that the blurred background has to do with what we call Depth of Field, which refers to how much of the frame will be in focus between the camera and the background.
Depth of field in general is determined by three things:
1. Your selected f-stop (a.k.a. aperture)
2. Focal distance – the distance between your camera & the subject
3. Focal length – the length of your lens (in millimeters)
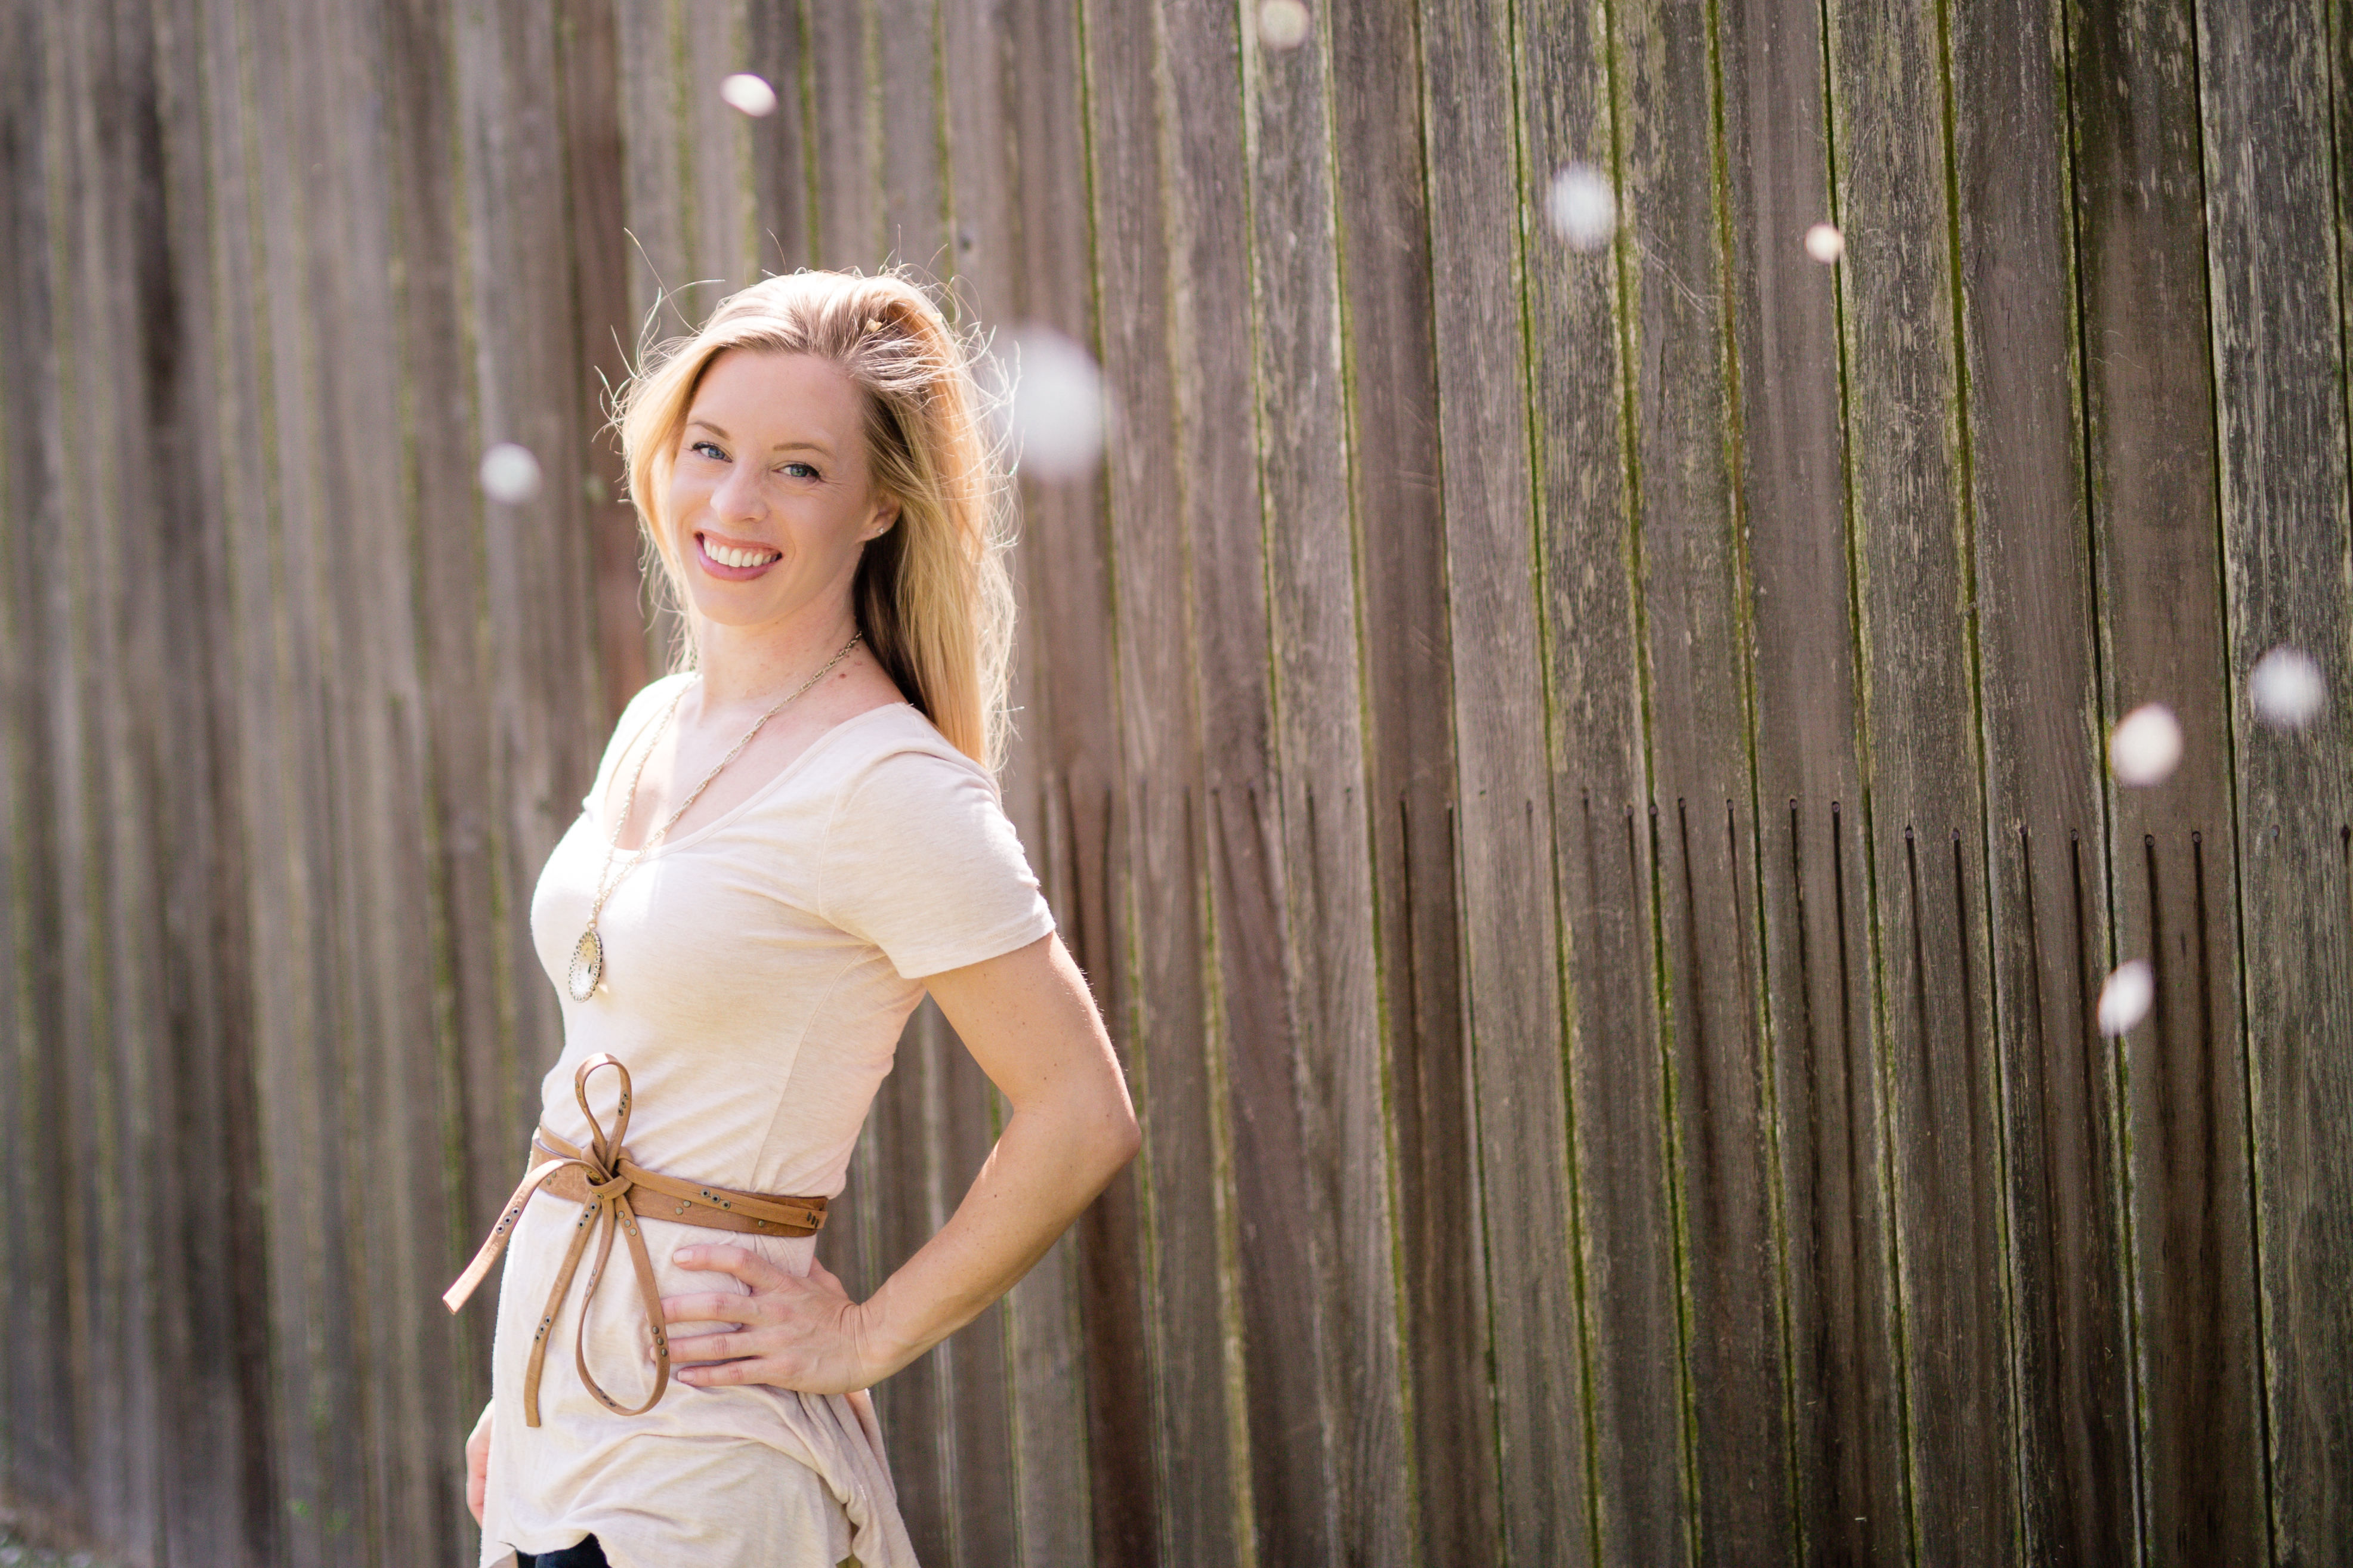
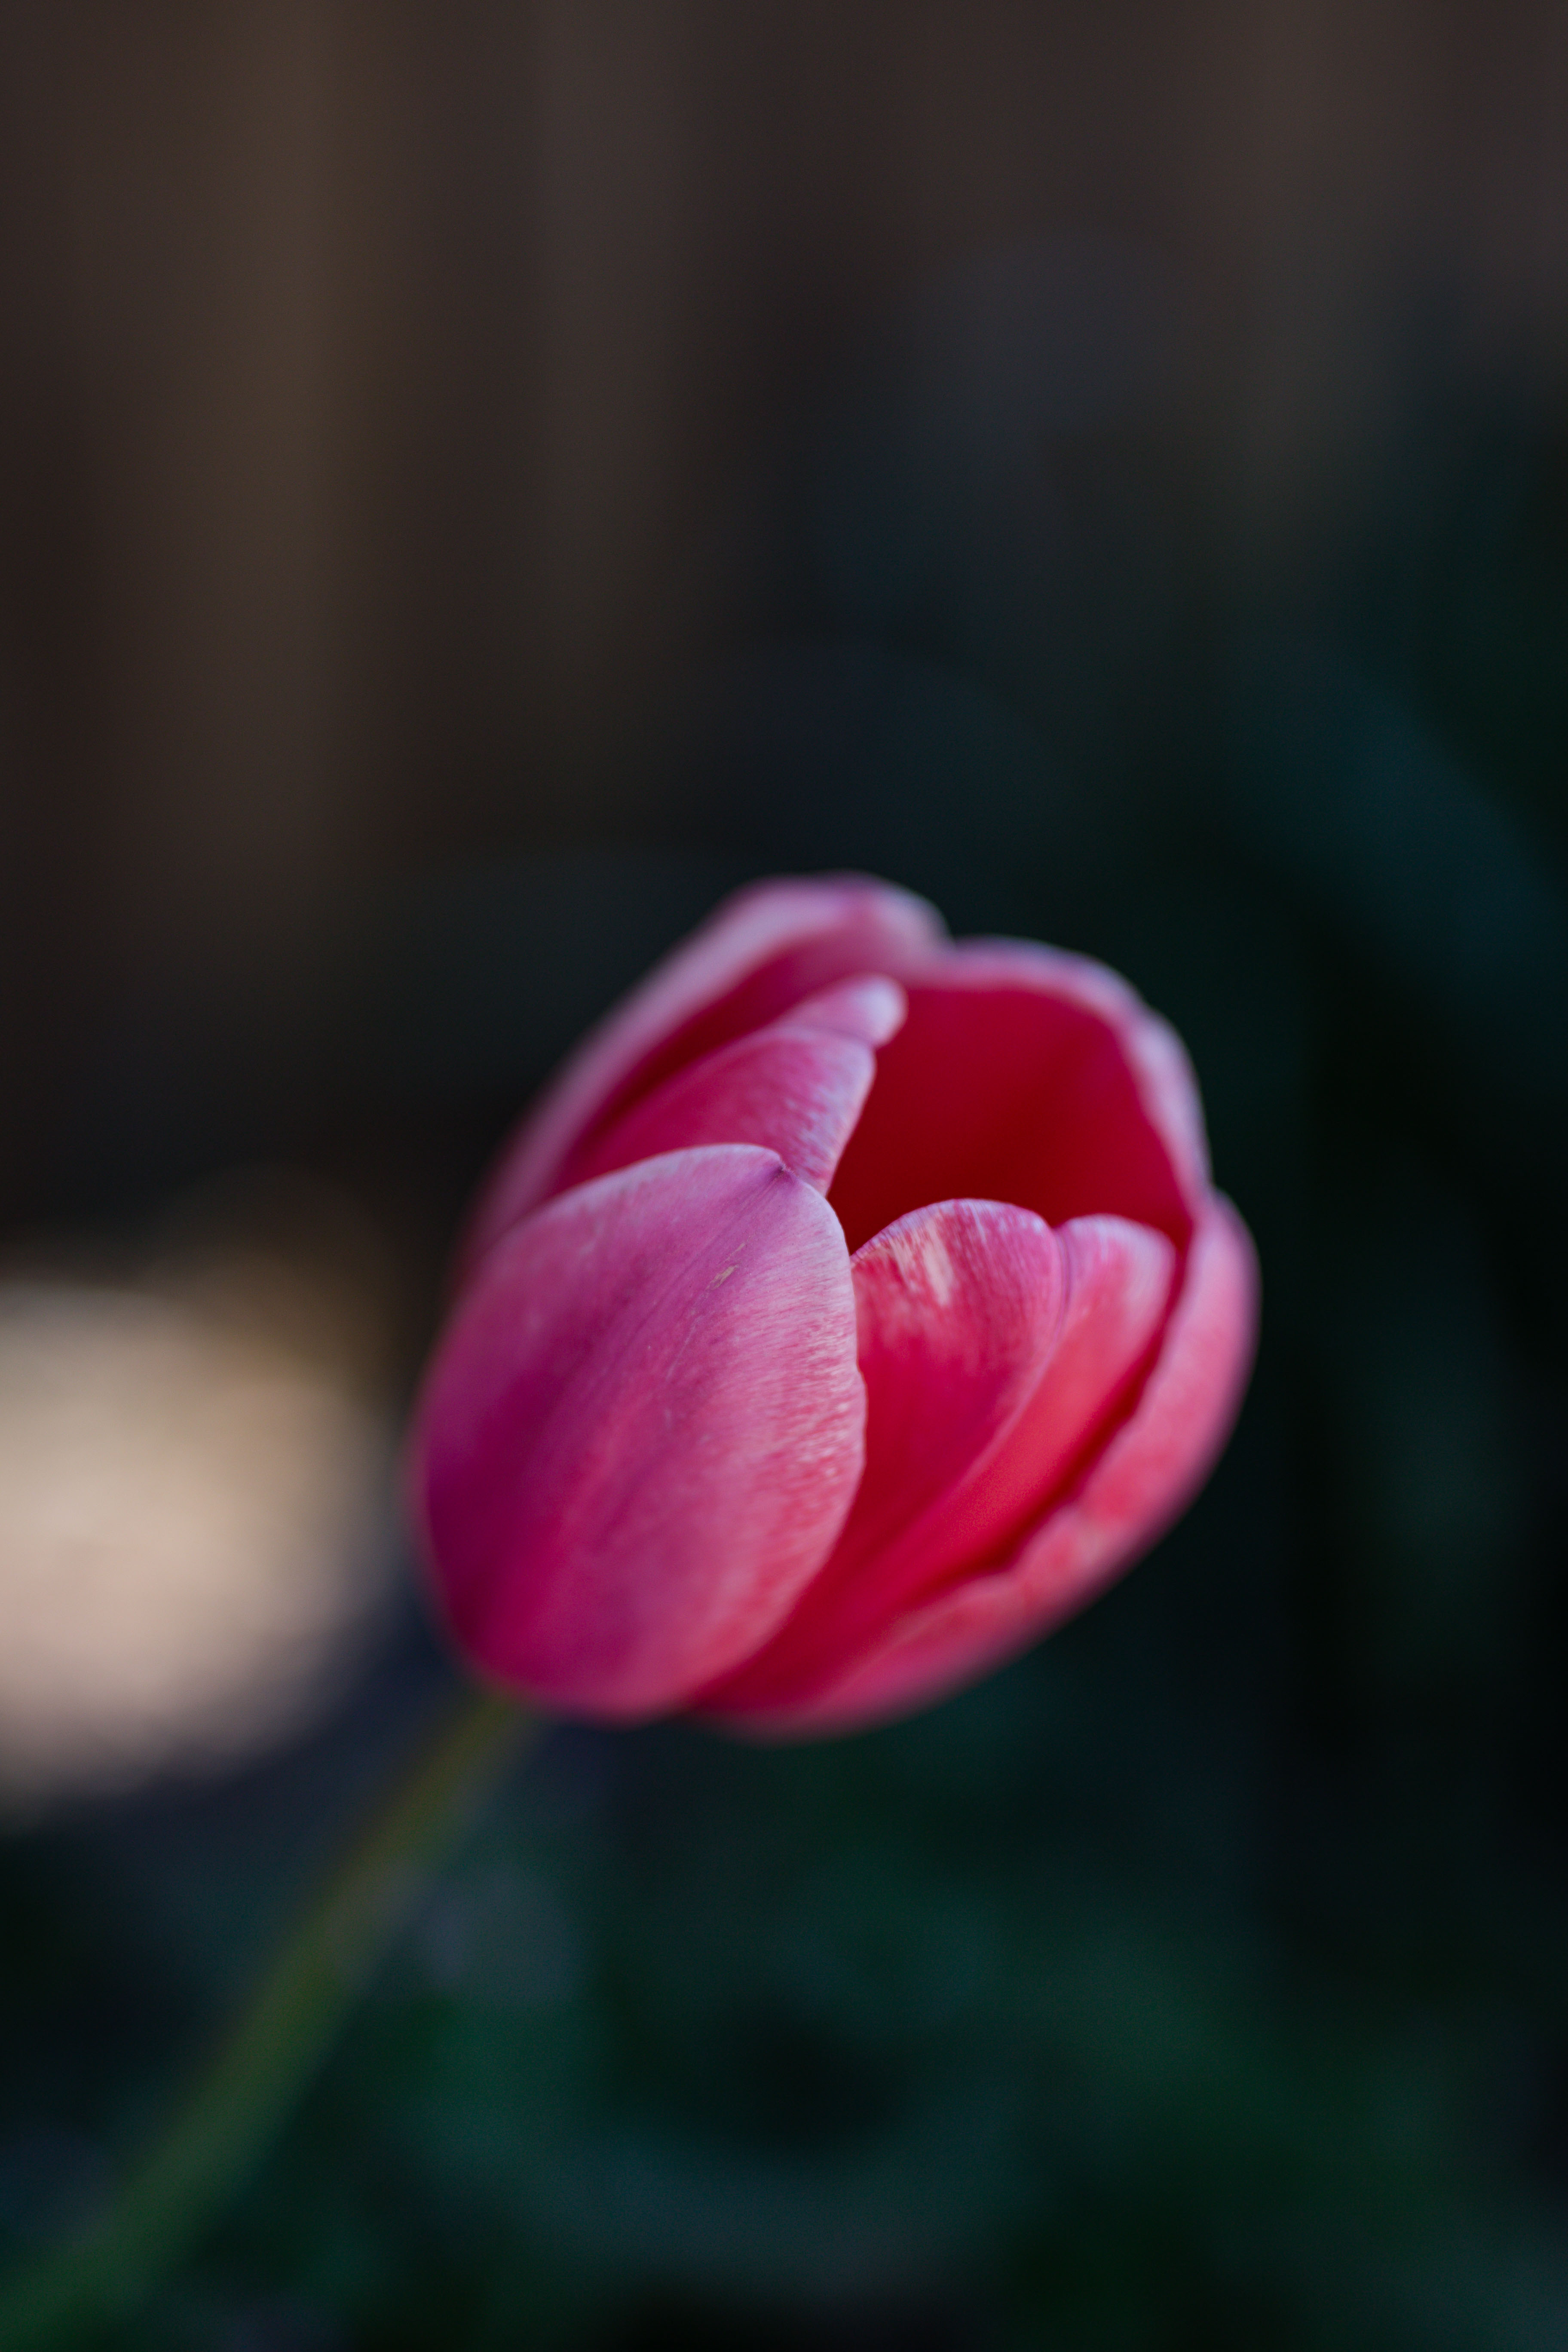
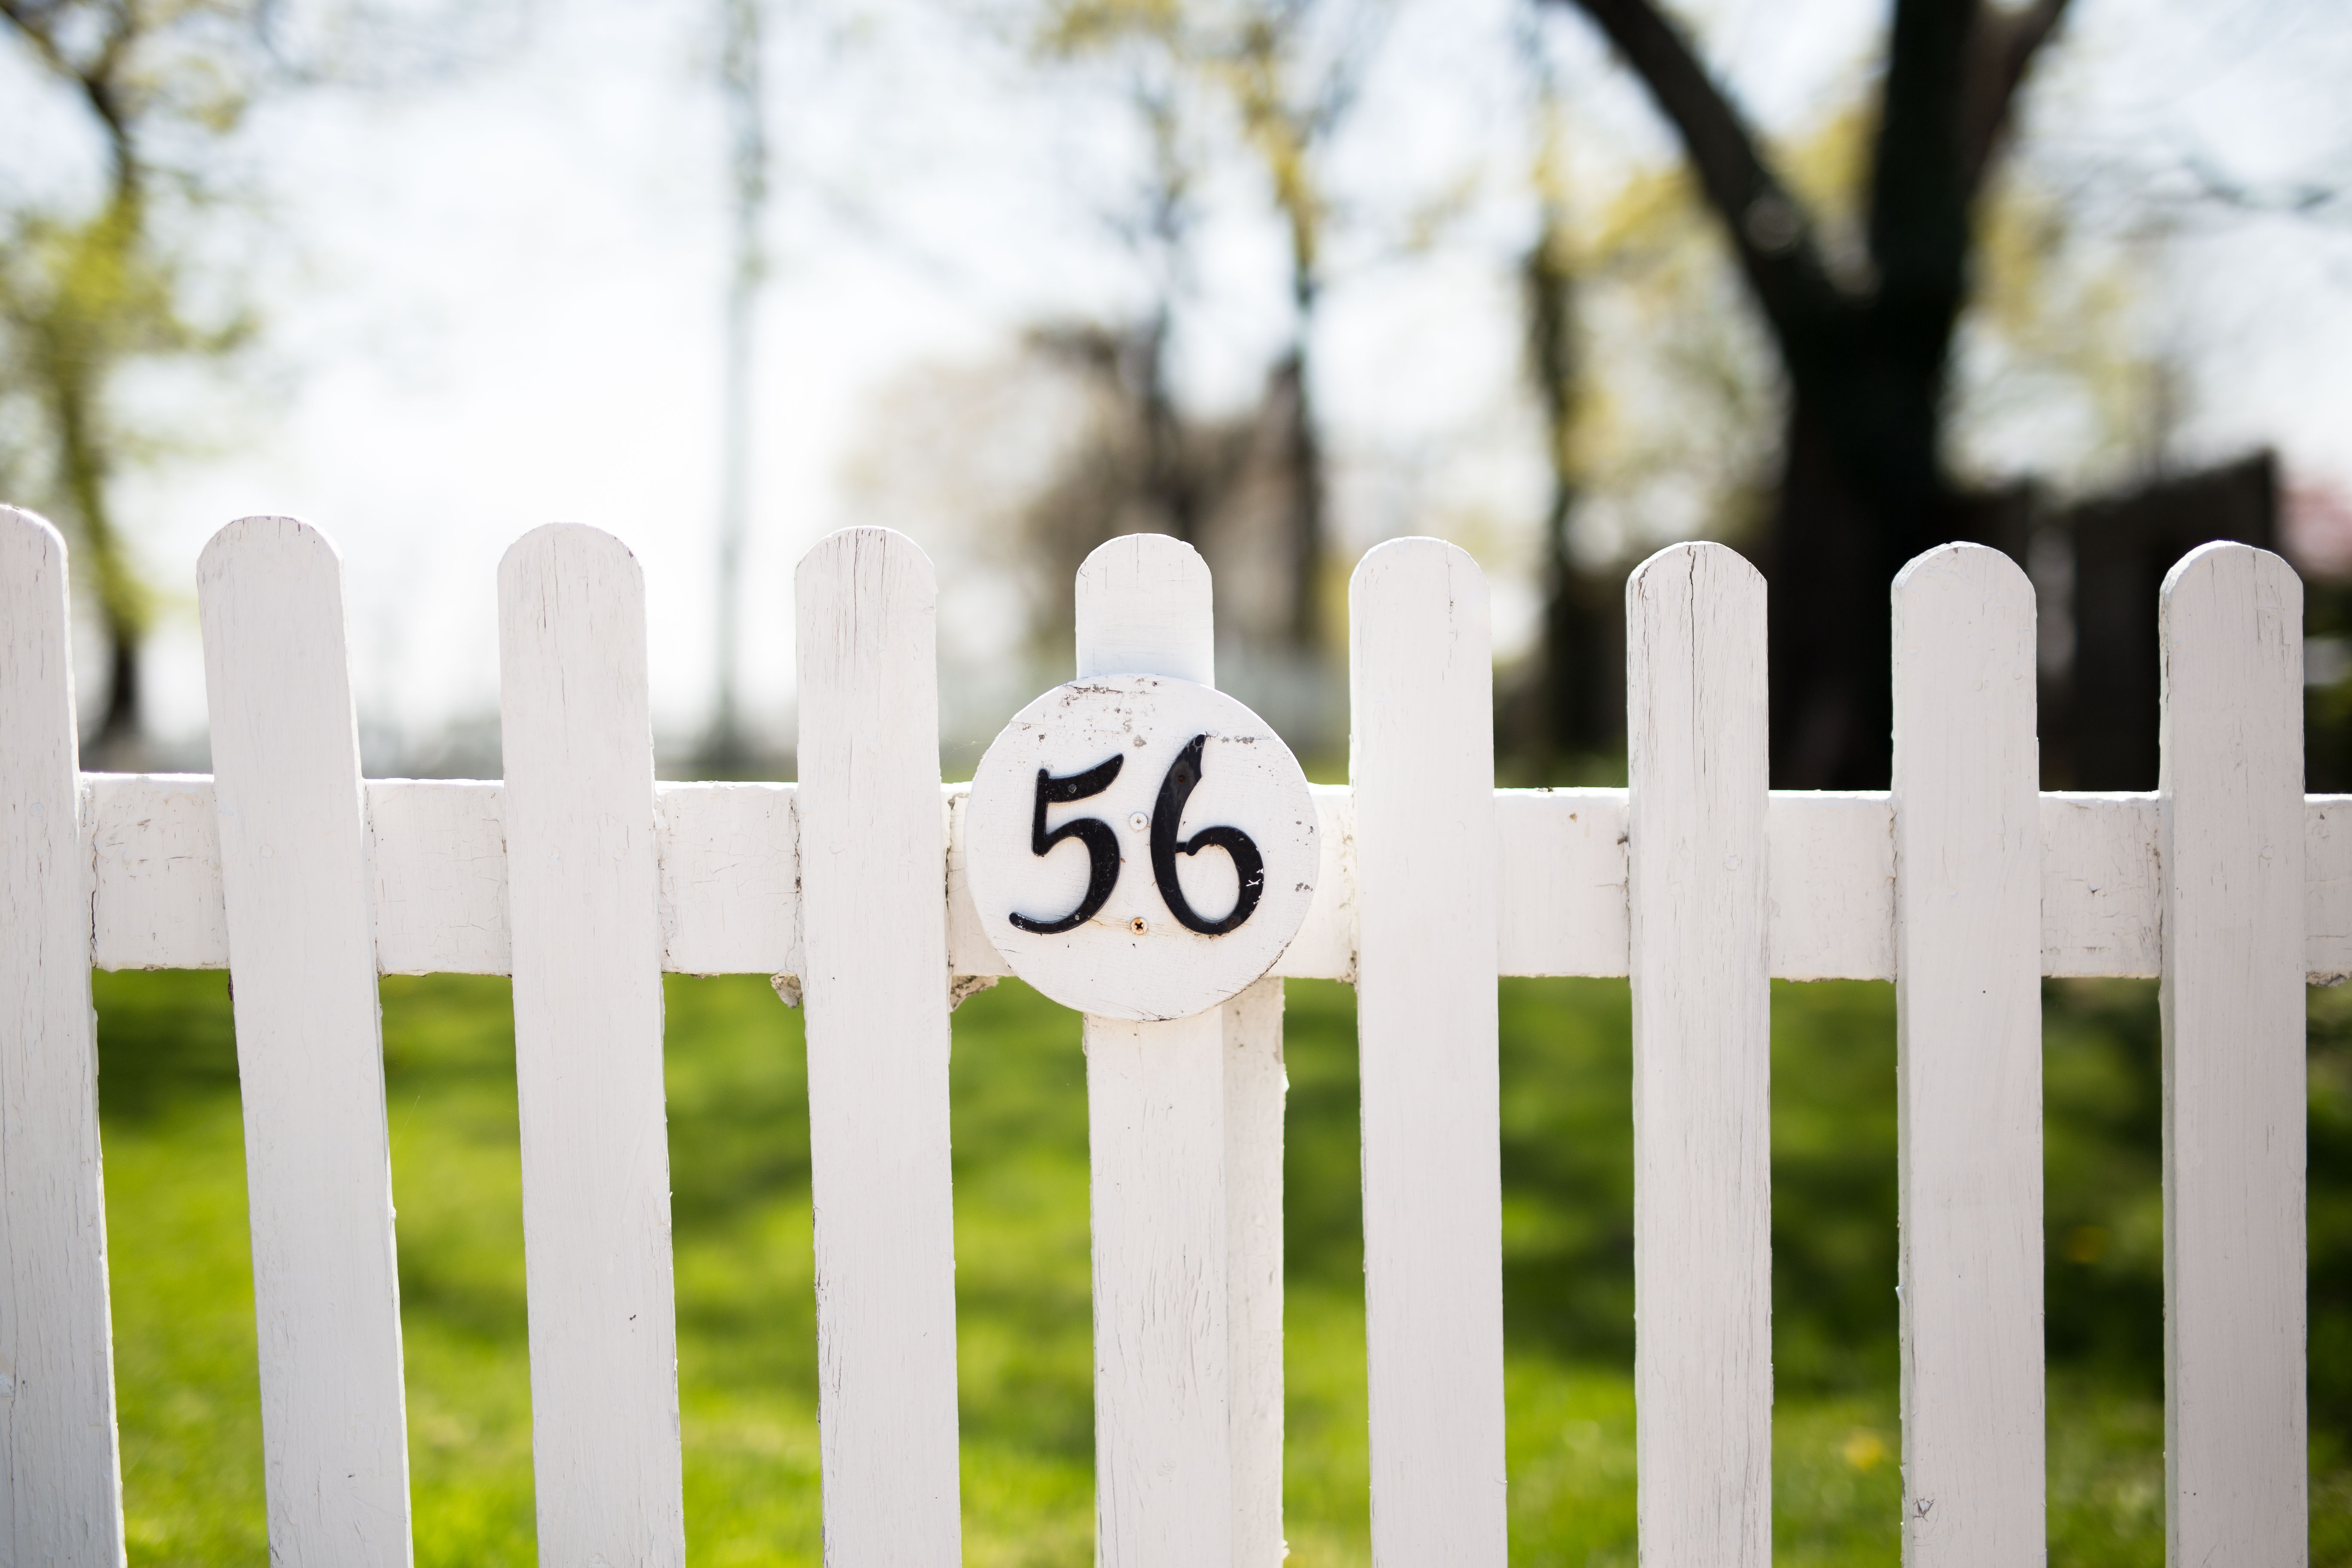
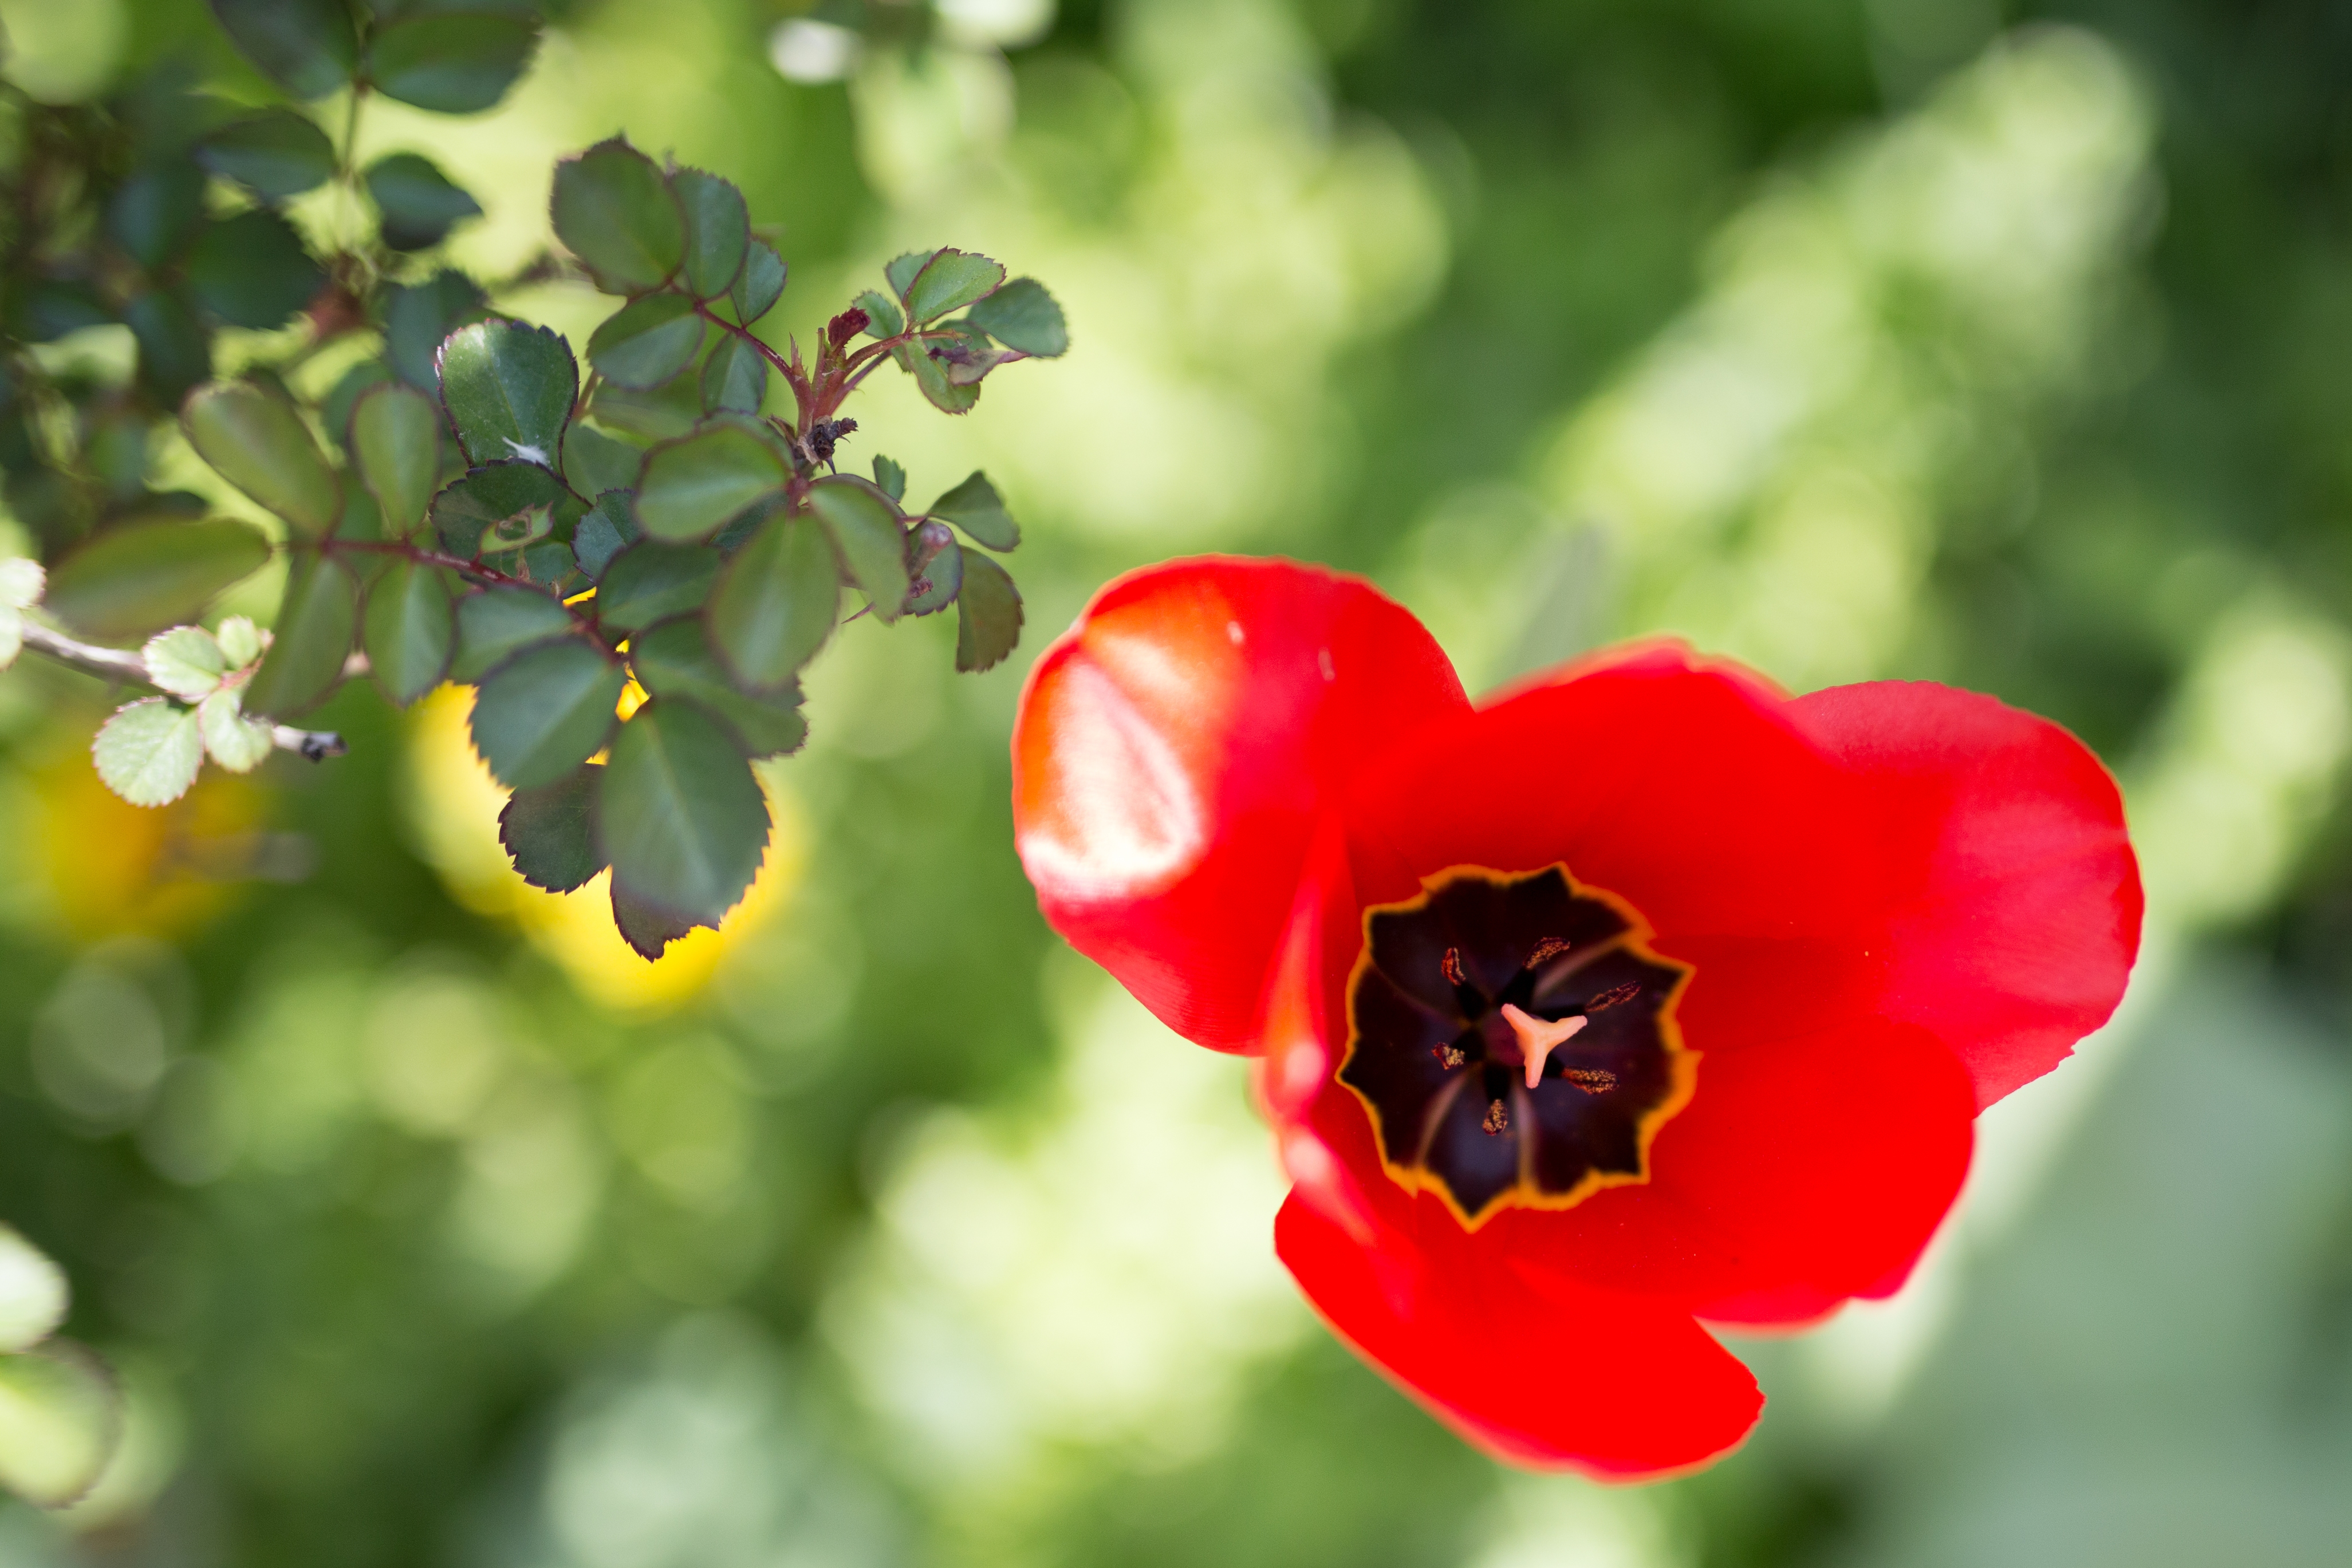
To attain a blurred background, you’ll want to have a shallow depth of field – less will be in focus & more will be blurry. For this to happen, select a wide aperture, make sure you’re fairly close to your subject, & use a long lens – or zoom in as far as you can if you’re using a zoom lens.
Pretty simple, right?
Now, follow these steps to attain a blurred background:
1. Turn your camera on Aperture Priority mode (AV on Canons)
2. Zoom your lens all the way in if you’re using a zoom lens. If not using a zoom, select the longest lens you have available. I love my 100mm for these types of photos.
3. Select the widest aperture available (that would be the smallest number), which is limited by the lens you’re using. On most starter lenses the lowest number will be something like f-3.2 or f-3.5, but if your lens has a smaller number, try to use something like f-2.8.
4. Get as close to your subject as the lens will allow you to take the photo (test this if you’re not sure).
5. Take your picture!


Review the photo to see if you’ve achieved what you wanted. Play around with the angle at which you’re standing in relation to the subject, distance, and focal length, & take as many photos you want until you feel like you’re comfortable with the process.
Congratulations! You’ve just achieved a blurred background in your images! When you share them online, be sure to note that you captured bokeh if you want to sound sound super knowledgeable & technical 😉
